Bambulab Home Assistant Dashboards
NOTICE: Version 2.1.1 and above are built focused around using HA 2024.03+ feature "Sections" view dashboard type. For such, I will be splitting some of the configurators to make it more user friendly.
These configurators will let you generate Home-Assistant YAML for displaying the basics of your printers and AMS units.
Requirements
- This NodeRed setup is completed and you can see your printer and optional AMS units in Home Assistant. This will give you everything exactly as you see it in this guide. v.2.1.3+ needed.
Note: The preview-stl image requires my advanced flow but is optional.
OR
- The HACS integration project for Bambu printers*
*The dashboards have templates that rely on the state of some sensors and only supports the English translations for the HACs repo at this time.
If you use HA under a different language, you will need to manually translate the YAML files for entity names. State values may or may not need translation.
Note: The HACS integration and my NodeRed flows are not fully supported to run side-by-side. It can work, but not recommended.
I can provide better support for NodeRed setups. As for HACs setups, I can only provide limited support. Additionally, not all UI elements, sensors or controls are available in the HACs integration.
And always required:
- Several frontend HACS repos (See below)
- Several files in your Home Assistant config directory (See Below)
- Optional: Smart Plug for turning on/off the printer.
HACS Requirements
Please follow the instructions for each one, as some require additional steps to install (FontAwesome)
- card-mod
- lovelace-layout-card
- hui-element
- button-card
- mushroom
- config-template-card
- FontAwesome (in HACS integrations, not frontend) (after installing via HACS, you need to add it again in Devices & Services)
- custom-ui
- tabbed-card (only if using my NodeRed version)
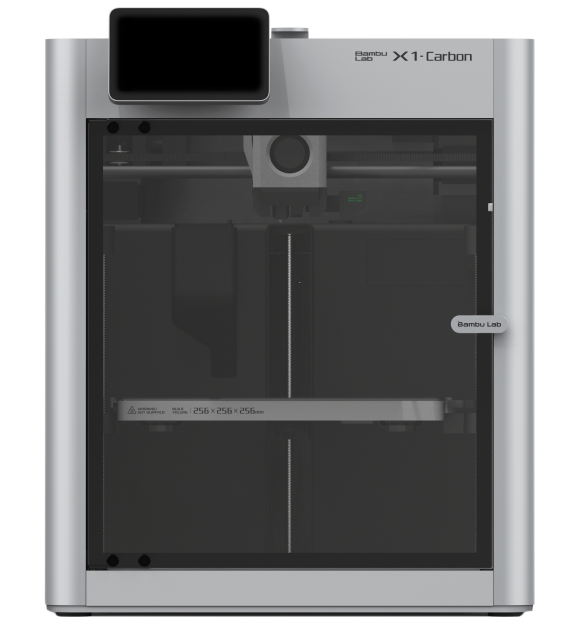
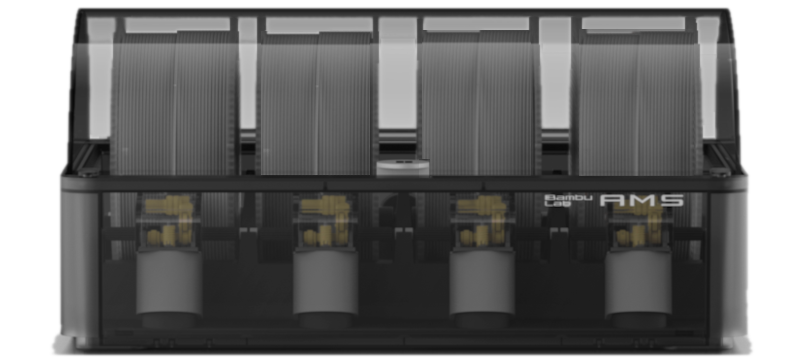
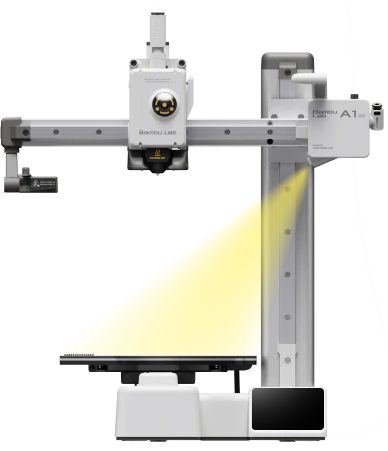
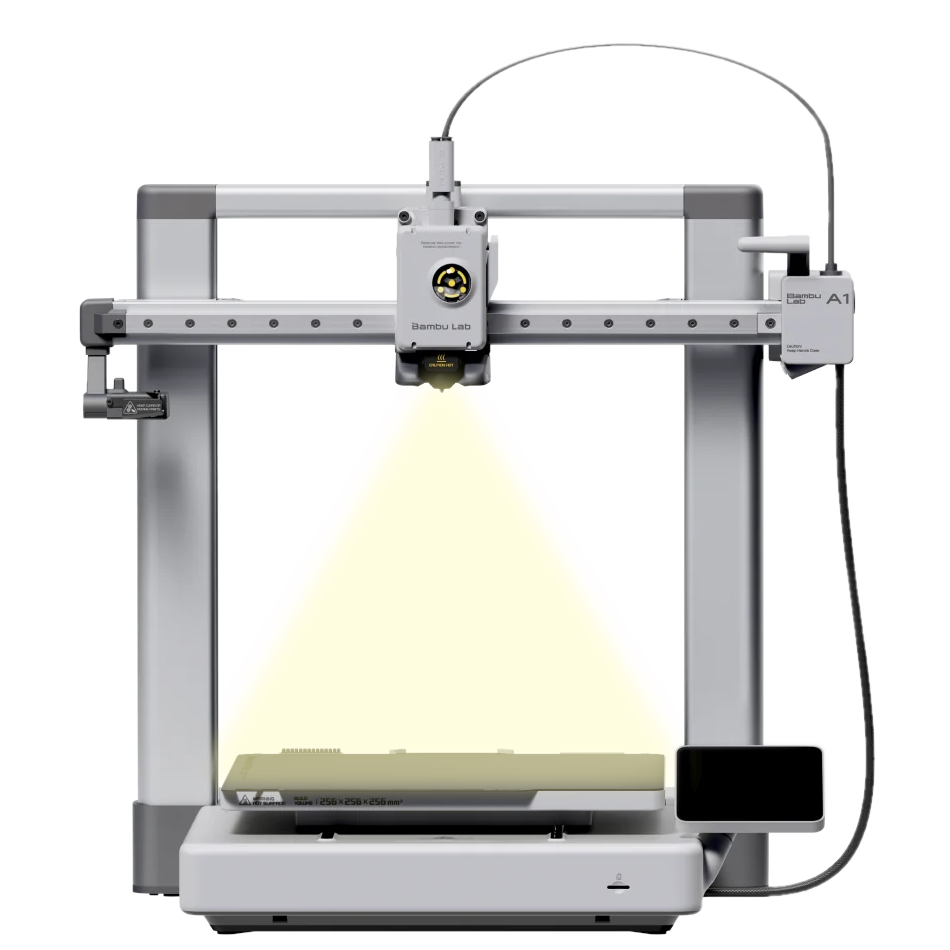
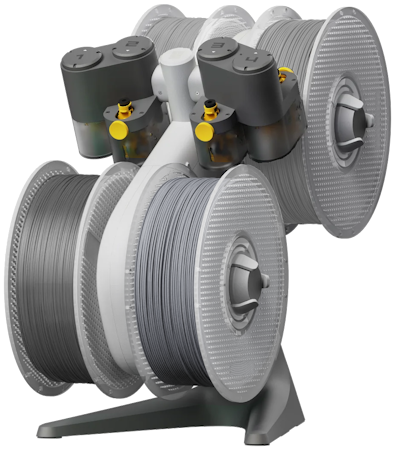
Example of some images: X1/X1C, AMS, P1P, External Spool, P1S, X1E, A1 Mini, A1, AMS Lite
File Requirements
Current working directory is assumed as the homeassistant config directory, put the linked images in their directories.
You may need to make the custom_icons directory yourself. All these paths/names have underscores, not spaces.
Download the media zip file from the button below to get everything at once already organized. It will always contain the latest files. The browser warning has been fixed.
- /www/media/bambuprinter/*.png
- /custom_icons/*.svg
Note: The SVG and/or images may not load initially due to HA's cache. Clear your cache and restart HA. The SVG will appear as an icon such as fapro:filament-1.
Alternatively, here's a WGET command
wget https://github.com/WolfwithSword/Bambu-HomeAssistant-Flows/releases/download/nightly/bambu-ha-media-files.zip
Thanks to dava, we now have a second choice for a default icon for filament! Both are included above so you can switch at your leisure.
UI Options
Option 1 - Sections (Recommended)
I recommend for a compact solution, to use the experimental Sections layout view available in HomeAssistant v2024.3+. This allows you to set predefined columns in a dashboard, group cards and drag & drop! The YAMLs below have been remade as of v2.1.1 to make this easier to do.
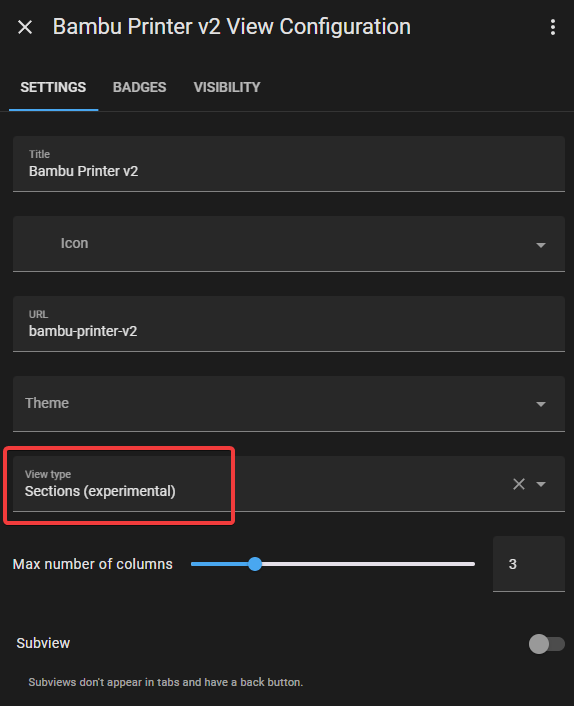
To setup a dashboard with the sections layout, create a new dashboard or dashboard page, go into edit mode and in the dashboard/page edit menu, select "Sections" from the dropdown in view-type.
The max number of columns is up to personal preference. I use three, but if I had more than one AMS I would likely have a 4th column with them all in one section named AMS Units, or similar.
You can name each section however you see fit.
Option 2 - Stack Cards / Grid Layout
If you do not want to use Sections or are unable to due to being in an older HA version, you can put a combination of an AMS, Printer, and Control YAML inside of a horizontal-layout card. It isn't necessary, but if you want to then this can be done via the visual editor, or manually if you know how to format the YAML. To make it cleaner, make your dashboard a Grid-Layout (optional).
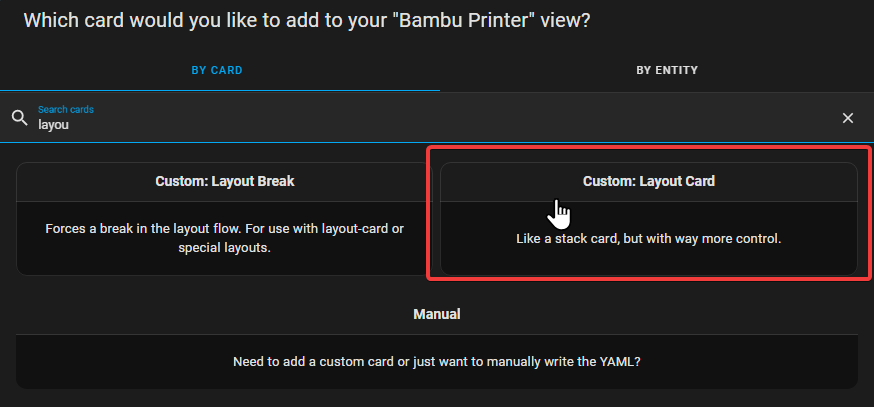
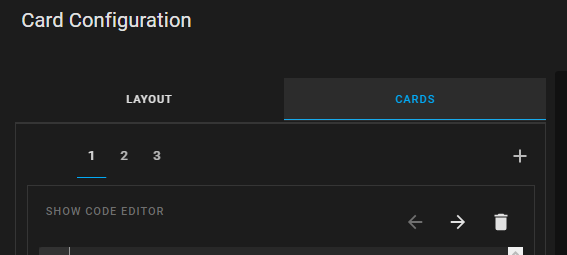
Visual Editor Version of Recommended Card Configuration Parent. Paste each YAML into a manual card and hit the + icon and repeat for each YAML in a new Manual card
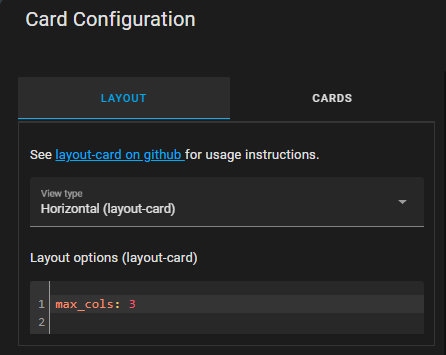
type: custom:layout-card
layout_type: custom:horizontal-layout
layout:
  max_cols: 3
cards:
  <put each here for **manual approach only**, first line of each must start with '- '>
Manual Version of Recommended Card Configuration Parent
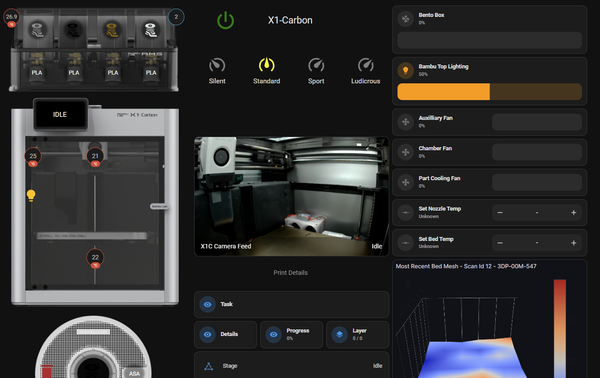
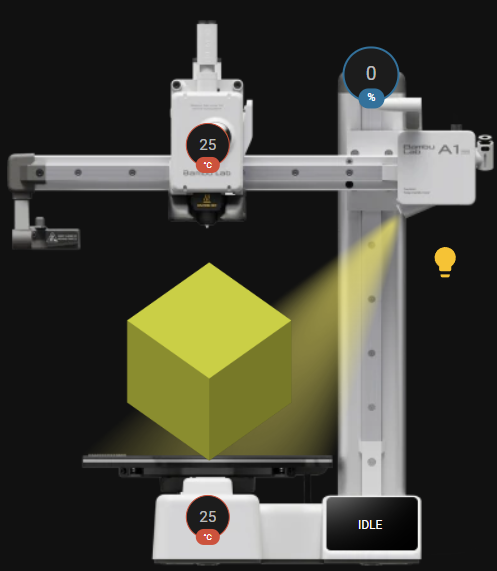
These YAMLS don't show all of the printer's sensors, but it's a good start. Here's a preview of what this can look like. There's also some bonus features depending on the state of the chamber light or print!
Note: Some panels shown below are unique to my own dashboard (bed mesh, accessory box options).
To add each yaml/card to your dashboard, in a section click add card (or if not using sections, add card in bottom right) and select "Manual Card", then copy the contents of each YAML file into a new empty manual card (one each) and you're done!

Printer Display YAML Configurator
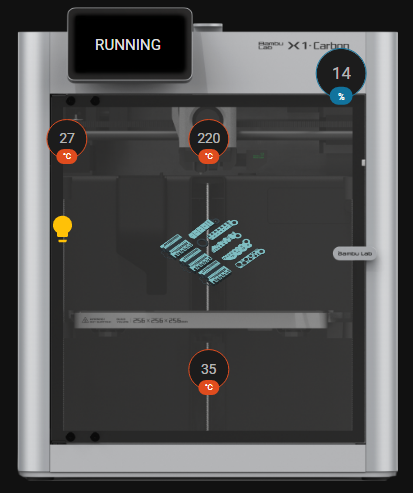
Fill in the fields below appropriate for your printer then click the Generate button to download the YAML.
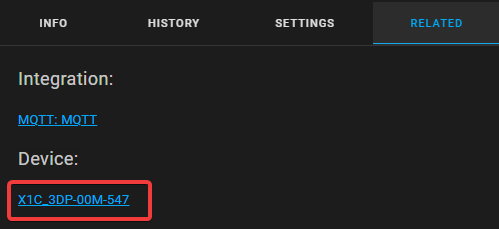
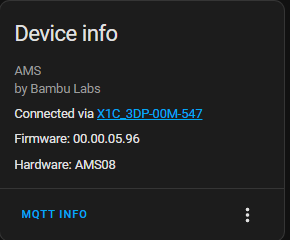
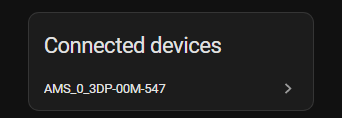
Printer Device Name will be the device name that Home Assistant registered your printer with. You can find this in the MQTT integration devices list, the device page itself, or the "related info" on any of its entities. It should stay in the format of your printer model_name.

The Preview Image inside the printer will be blank unless the advanced NodeRed flow is setup, or if using HACs integration + printer is connected to Bambu Cloud. It will only show up during a print.
One suggestion to enhance this further is to add the brand new layer num and total layer num values as an overlay label!
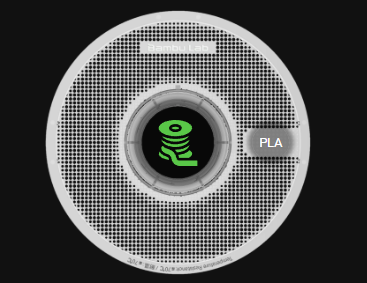
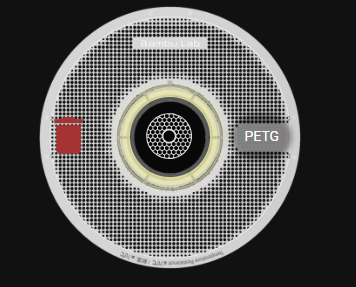
AMS Display YAML Configurator
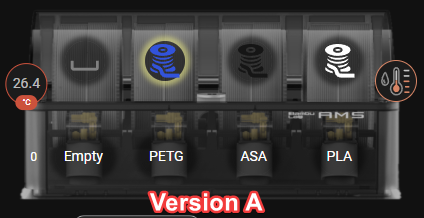
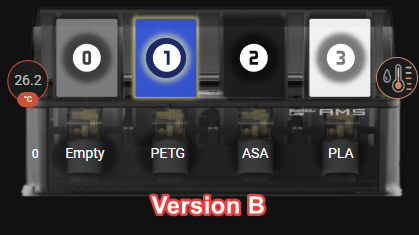
Note: There are two versions of the normal AMS YAML. Please choose Version A or B.
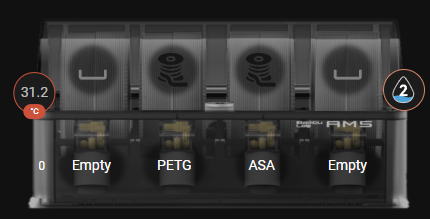
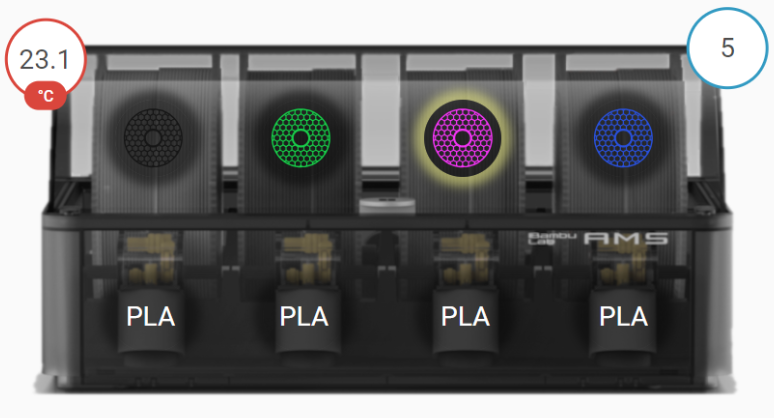
Left: filament-1.svg, Right: filament-2.svg. Available for Version A only for regular AMS. Also available on AMS Lite.
Fill in the fields below appropriate for your AMS unit(s) then click the Generate button to download the YAML.
Printer Device Name and AMS Device Name will be the device names that Home Assistant registered your printer and AMS unit(s) with. You can find these in the MQTT integration devices list, or in the "related info" of any of their entities. Each AMS will also be "connected via" their connected Printer name.
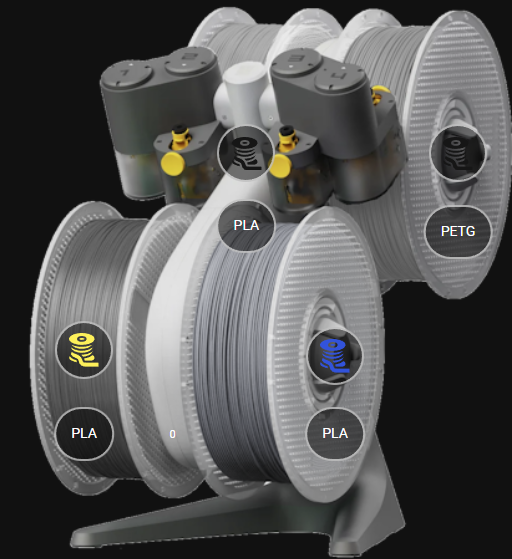
External Spool YAML Configurator
Left: Filament-1 Icon. Right: Filament-2 Icon
Fill in the fields below appropriate for your printer then click the Generate button to download the YAML.
Printer Device Name will be the device name that Home Assistant registered your printer with, same as before.
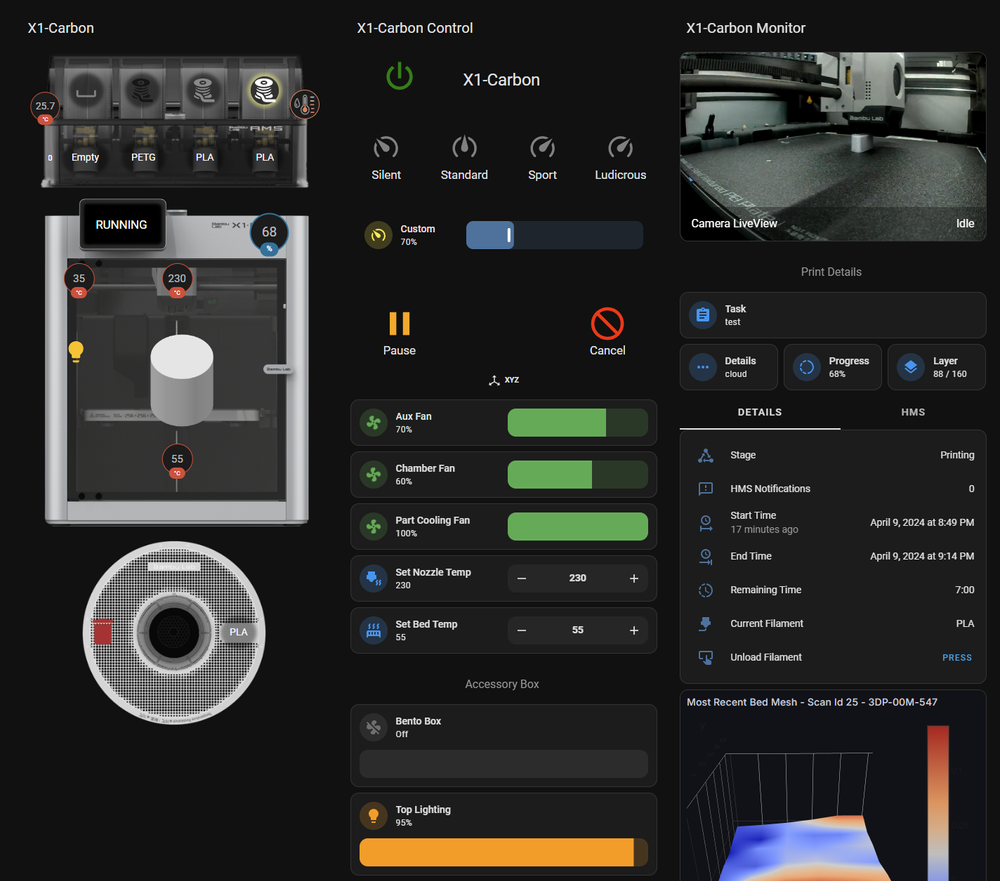
Printer Control YAMLs Configurator
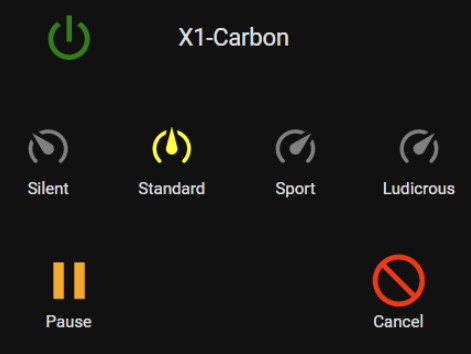

Printer Control Section #1. Contains Power button, speed control (preset and custom percentage), buttons for Pause/Resume/Cancel print, and button to home axes when not printing + show currently homed axes. "X1-Carbon" will be replaced by your printer title you input.
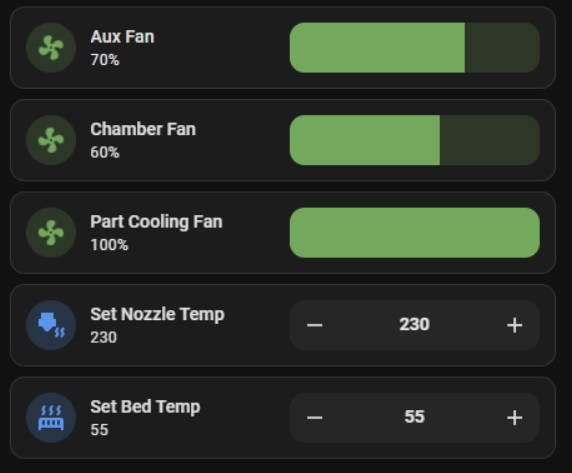
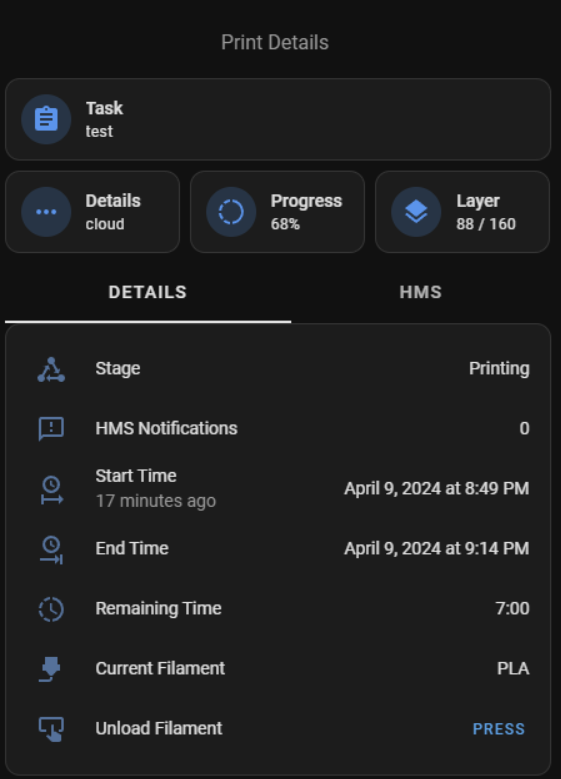
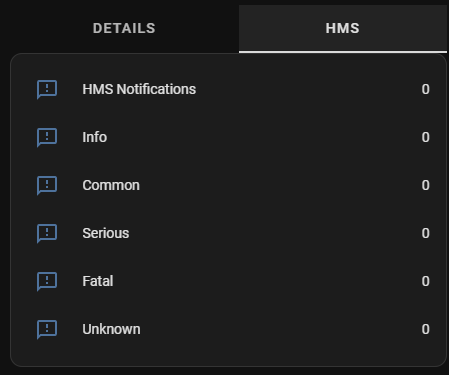
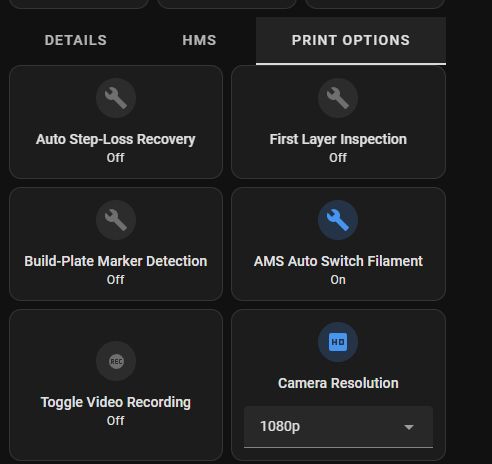
Left: "Printer Fan & Temp Control" (X1E will have chamber heater too) Centre & Right: "Print Details" shows details of the print, HMS errors and print options you can control in a tabbed card. The tabbed card for HMS and Print Options will only be available with the NodeRed integration. Also note, the print options are dependent on your printer's support.
Fill in the fields below appropriate for your Printer and HA Instance, then click the Generate button to download the YAML.
Printer Device Name can be retrieved the same as in the previous two configurators, as it's the device name that Home Assistant registered your printer with.
Title is a field to fill with whichever you like. Make it the name or model of your printer, a nickname, code, or title. If left blank, it will default to your printer's device name. It will change what is the "X1 Carbon" is in the example image.
Smart Plug Name is an optional field but highly recommended. If you have a smart plug (metering or not) connected to your printer to control its power, and it's registered as a switch in Home Assistant, put the switch name here. Do not put the switch. prefix.
If you do not have a smart plug for this, deploy the YAML anyways and it won't disrupt anything, as it is only conditionally displayed if the switch name exists.
Common Problems
My temperature sensors are in °F not °C
If your HomeAssistant settings are set to Imperial units instead of Metric, it is automatically converting all temperatures and such from every sensor to your preferred setting.
You can get around this per sensor by doing the following:
- Go to Devices & Services -> MQTT -> Devices and search for the Printer and/or AMS unit.
(Or select any of the printer entities and go to the device page) - On each temperature related sensor, click it, go to the settings (Gear Icon) in the top right, and change the Unit of Measurement to °C.
My Filament Icons / Colours and/or Humidity Icons are not showing!
Make sure you added the custom_icons folder/files in the right place. This folder does not go into www/ but on the same level in the file hierarchy.
Then make sure you installed Font-Awesome properly (HACS, restart HA, add integration in Devices&Services, restart HA)
Then try another device, browser, private mode. And then try it again an hour later. HA cache can be really dumb sometimes.
If the colours are not showing up, and the cards have an outline/background to them, please verify you've installed the latest card_mod and if so, try re-adding it.
The images/dashboard cards are covered in red errors
Try reinstalling all the custom HACS frontend requirements slowly to make sure you do it right. Check browser console log for any errors loading, or any indication if they aren't loading.
Why don't I see an image of my print in the printer?
Using my NodeRed Flows, this is currently only available if you use the Advanced FTP flow. This works both in LAN and Cloud modes.
If you use the HACs Integration, you need to be on HA-Bambulab v2.0.3+ and the printer must be connected to the Bambu Cloud. It will also only show the image of the last cloud print.
I can't control the temperatures?
Please note that A1 and P1 firmwares do not let you control temperatures over MQTT unless you are in LAN-Only mode, or connect using the Cloud. This is for both my NodeRed integration and the HACs integration.
Other
While I do not have custom dashboard yaml for some other functionalities, I can give a few starting points!
For example, there are number-boxes on the printer which will let you set the target temperature for the nozzle and bed. These can be useful in an automation or script called by a button to preheat the chamber, to set to 0 in case of emergency, or to modify the temperatures on the fly. I recommend using the mushroom number card for a clean look if you want them displayed!
Take a look at other sensors, buttons and entities on the printer device in HomeAssistant, I'm sure you can make something great with it.
Lastly, if you want a live-view of the camera and have an X1C, newer firmware has now enabled access! Please follow the following guide.
 WolfwithSword
If you are using the HACs repo, you can simply also add a Camera card and select the camera entity.
If you want some blueprints for automations with the bambu printers, check out mine here!
WolfwithSword
Bambulab HA Blueprints