Making Keening, Tool of Kagrenac
I've always wanted to make Keening. Not just because it's a manageably sized weapon from a game I like, nor because it presented some new challenges with transparent stuff. Instead, it's because of what it represents. A tool, created by the great Kagrenac, used to wretch power from the heart of a God, power that can be used to rewrite reality in some ways. So, here I am, always wanting to change the world around me by making things in it. It's a natural fit.
A New Tool
A tool to control the power of a God!
This was a dream to make for the longest time, as the only methods I knew of that I could do would be to 3D print using FDM printers the normal components of the weapon, smooth it all and paint. Then, I'd need to cast the blade in resin to achieve the authentic transparency I'd want. Problem is, casting resin is incredibly expensive and hard to get here in Canada, especially for the quantities you can get. Secondly, I don't necessarily have the proper workspace for casting resin properly, and would end up wasting a lot.
That all changed when I finally bought a resin printer, the AnyCubic Photon Mono X. Not only would this make it much faster to print, but also in better quality and not need any smoothing of the prints! But the most important thing was that I can also print using clear resins, which meant I can make the blade!
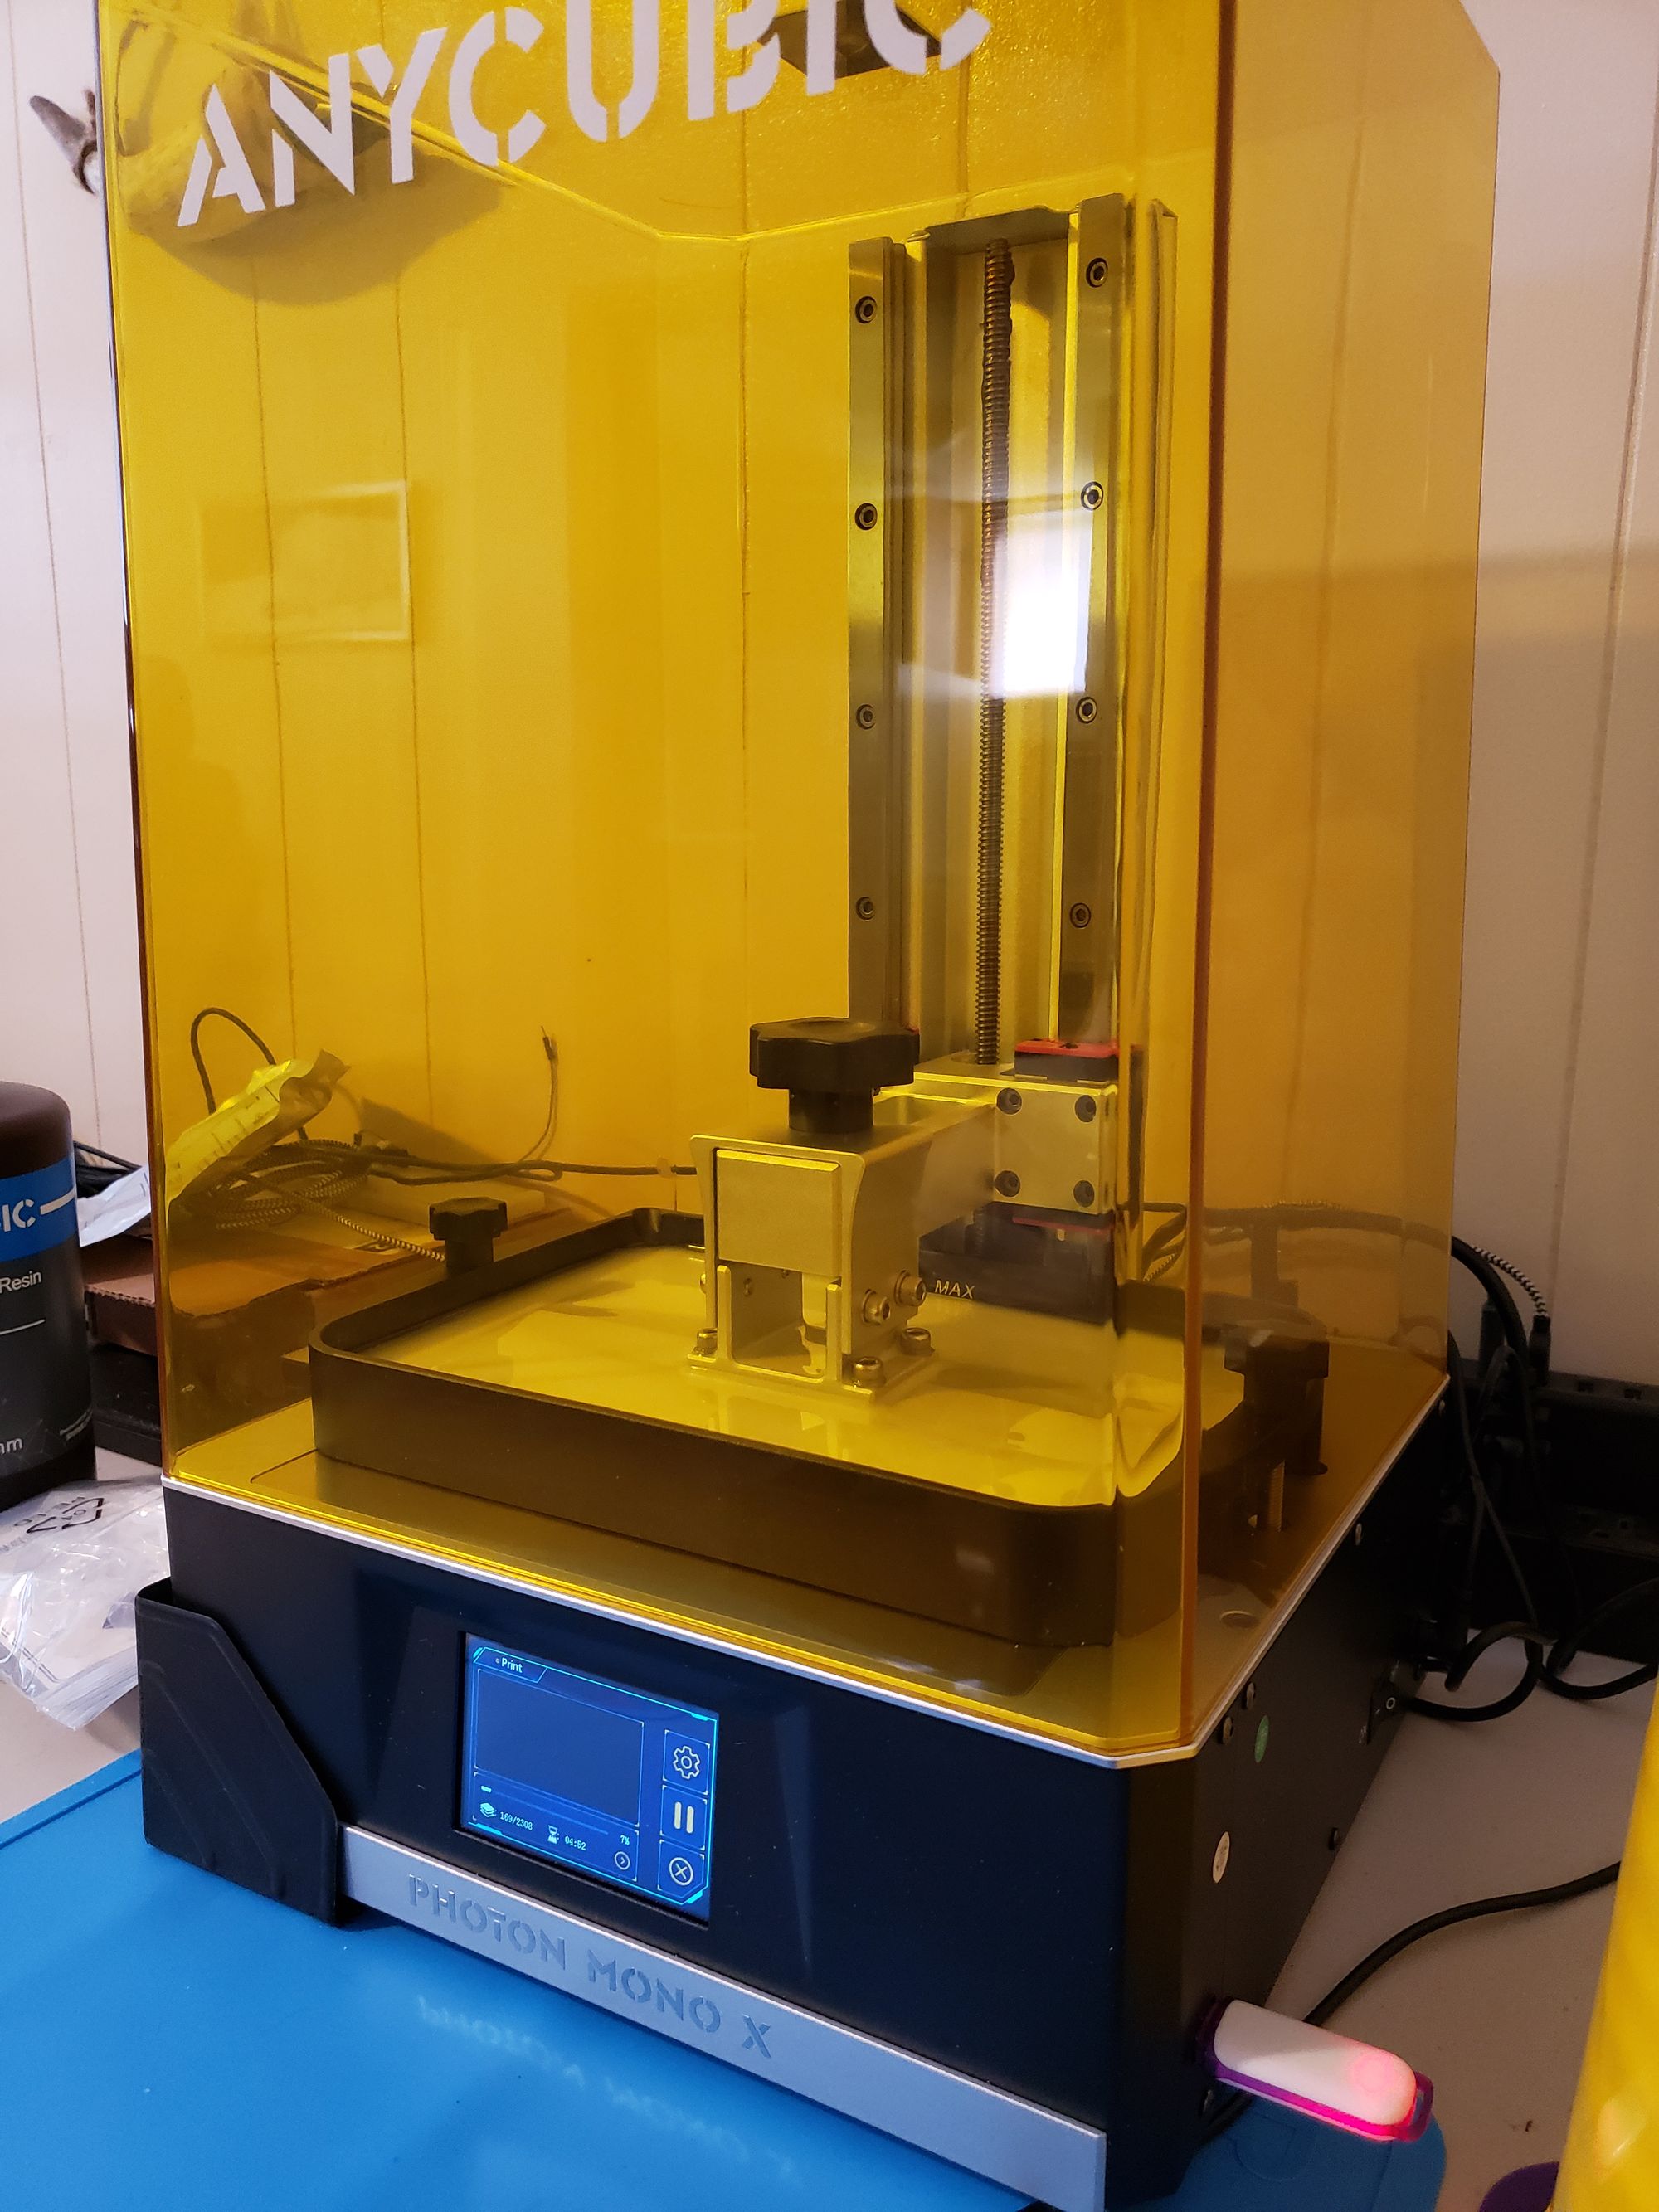
The reason for the Mono X was simple. It was relatively affordable, large build plate size, decently high resolution and used a monochrome screen, which meant that the LCD would last a lot longer before needing replacing.
Modeling
To be like Kagrenac, Smithing these tools in the modern age!
I was still relatively new to 3D modeling, and plenty of folks out there have modelling Keening before. After looking through a few models for ones I liked and allowed changes and such, I settled on using this one by D3K0Y as a base, before I had to change it dramatically.
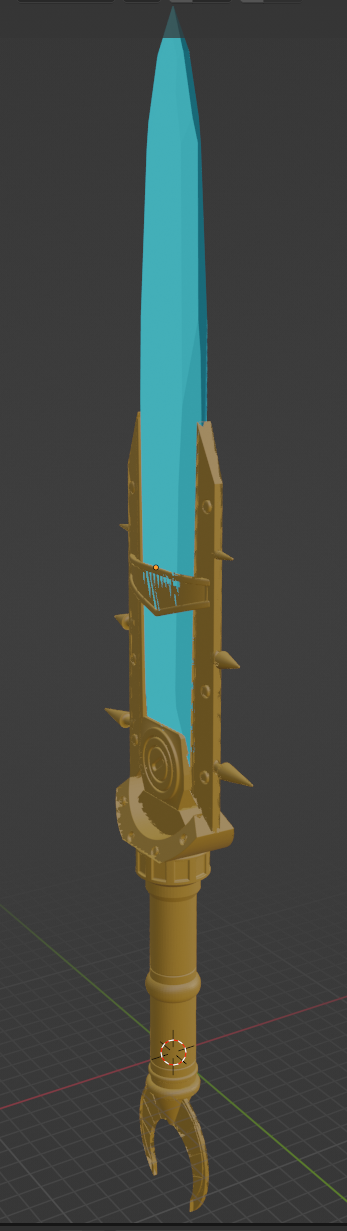
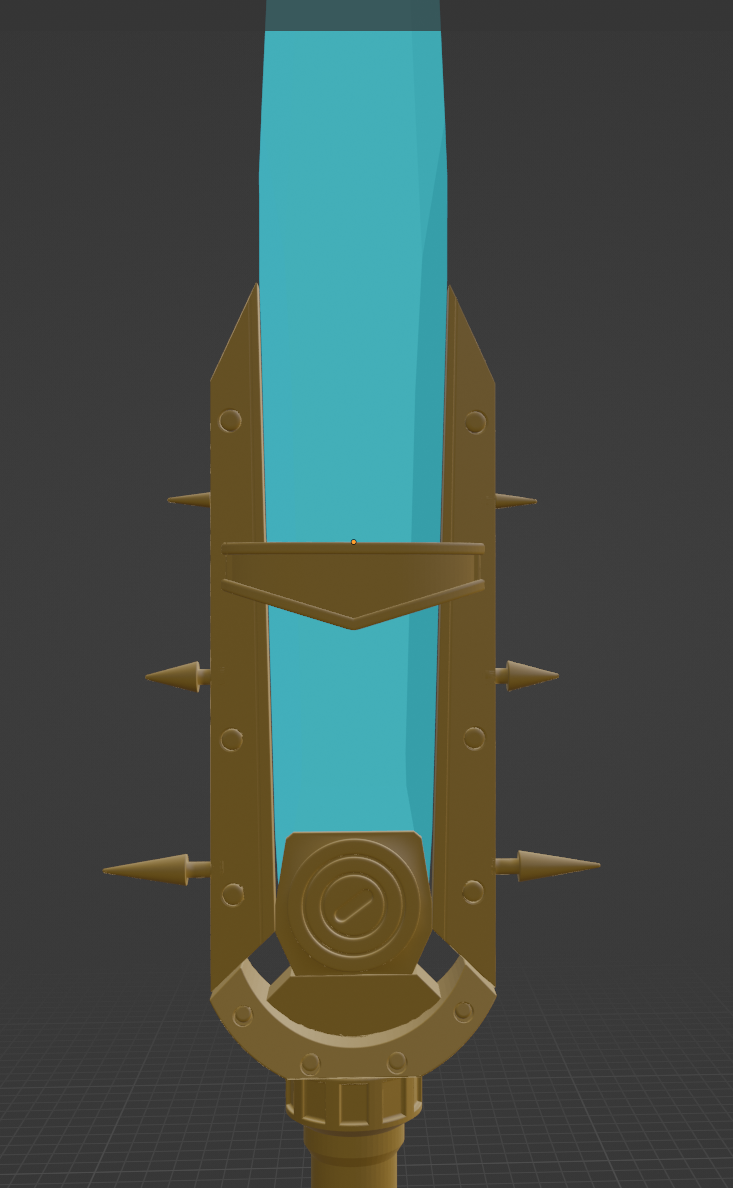
Using Blender, I first rescaled the entire blade accordingly to make it a bit more realistic. I scaled the blade thickness to around 75%, as well as the side supports and spikes. The handle, pommel and guard I didn't scale down nearly as much, just enough to not look awkward. The attachment stubs I had to individually scale on each part so they would still fit in with each other.
Next thing I needed to change was the spikes. After scaling things, they looked very out of place and stubby. These I had to custom scale them and partially remodel them to be small enough to fit with everything, but large enough to not feel off of the original design. The main thing was I needed them to be longer and still cylindrical, but not too wide sticking past the blade thickness.
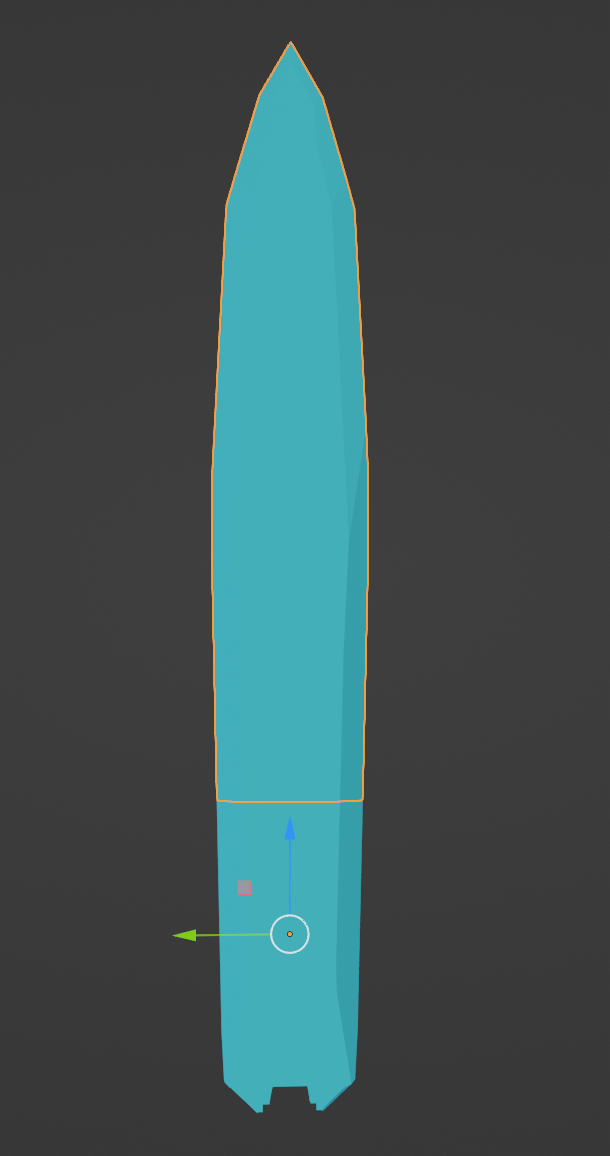
Finally, came the crystal blade itself. I knew that it was too long for my printer to print, even with it's impressive build plate size. So I had to cut it in half. I knew I could hide the seam with the cross guard that goes across the blade, attaching the two side guards, so I lined it all up in blender and just did a plane cut on the blade, preserving both halves.
The completed blend file is attached here, since there are far too many small tweaks I had to do to the model to make it fit "just right". Each individual item is separated in it, so you can export each as an STL or modify as needed.
Each object in the blend file will be completely manifold and be 3D printable.
Preparing the Forges & Assembly
Now that the modeling was done, it was time to print it! For the pommel, spikes and small button/pins, I printed in a generic white resin. For the handle, guard parts, side grips and the middle clamp part, I printed in a tough ABS-Like resin. In hindsight, I should have done it all in the ABS-Like resin, so if it ever fell it would be a lesser chance of breaking.
The beautiful thing about resin printing is that you can combine any resin pieces together, even if broken, by just curing some resin in between the two parts. Before printing the blade, I attached all the uncured and semi-cured pieces together for the main part of Keening.
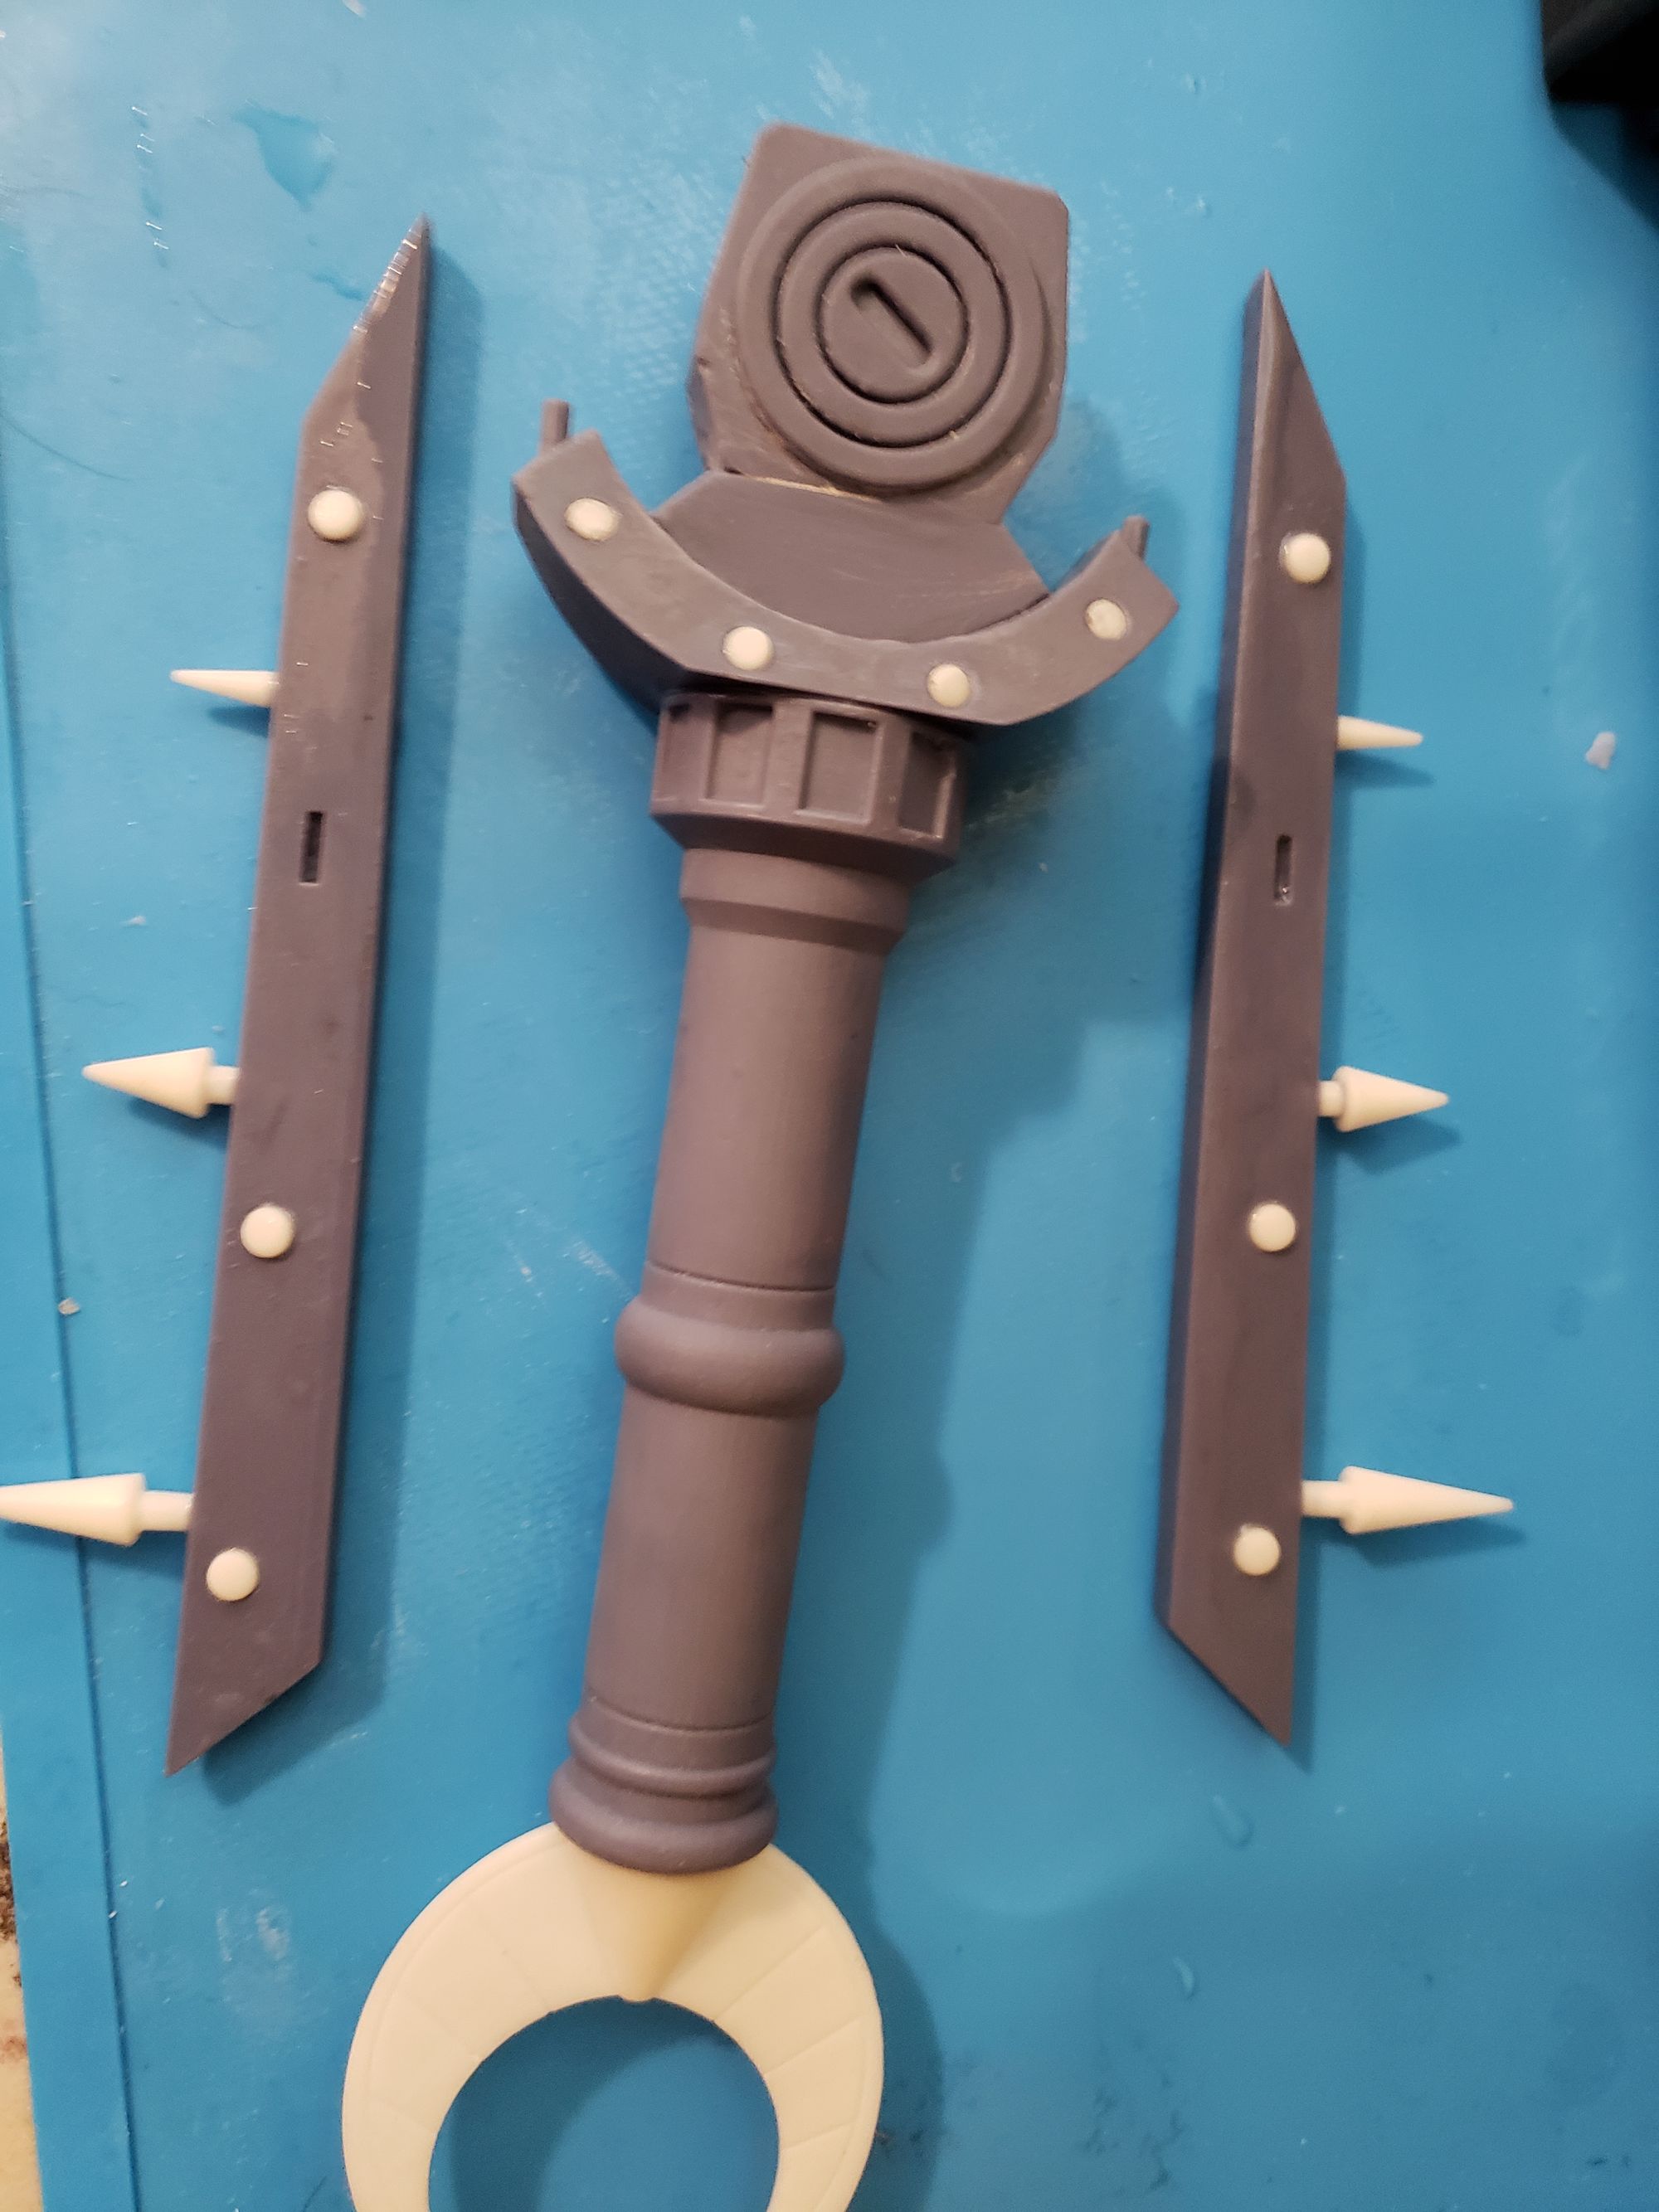
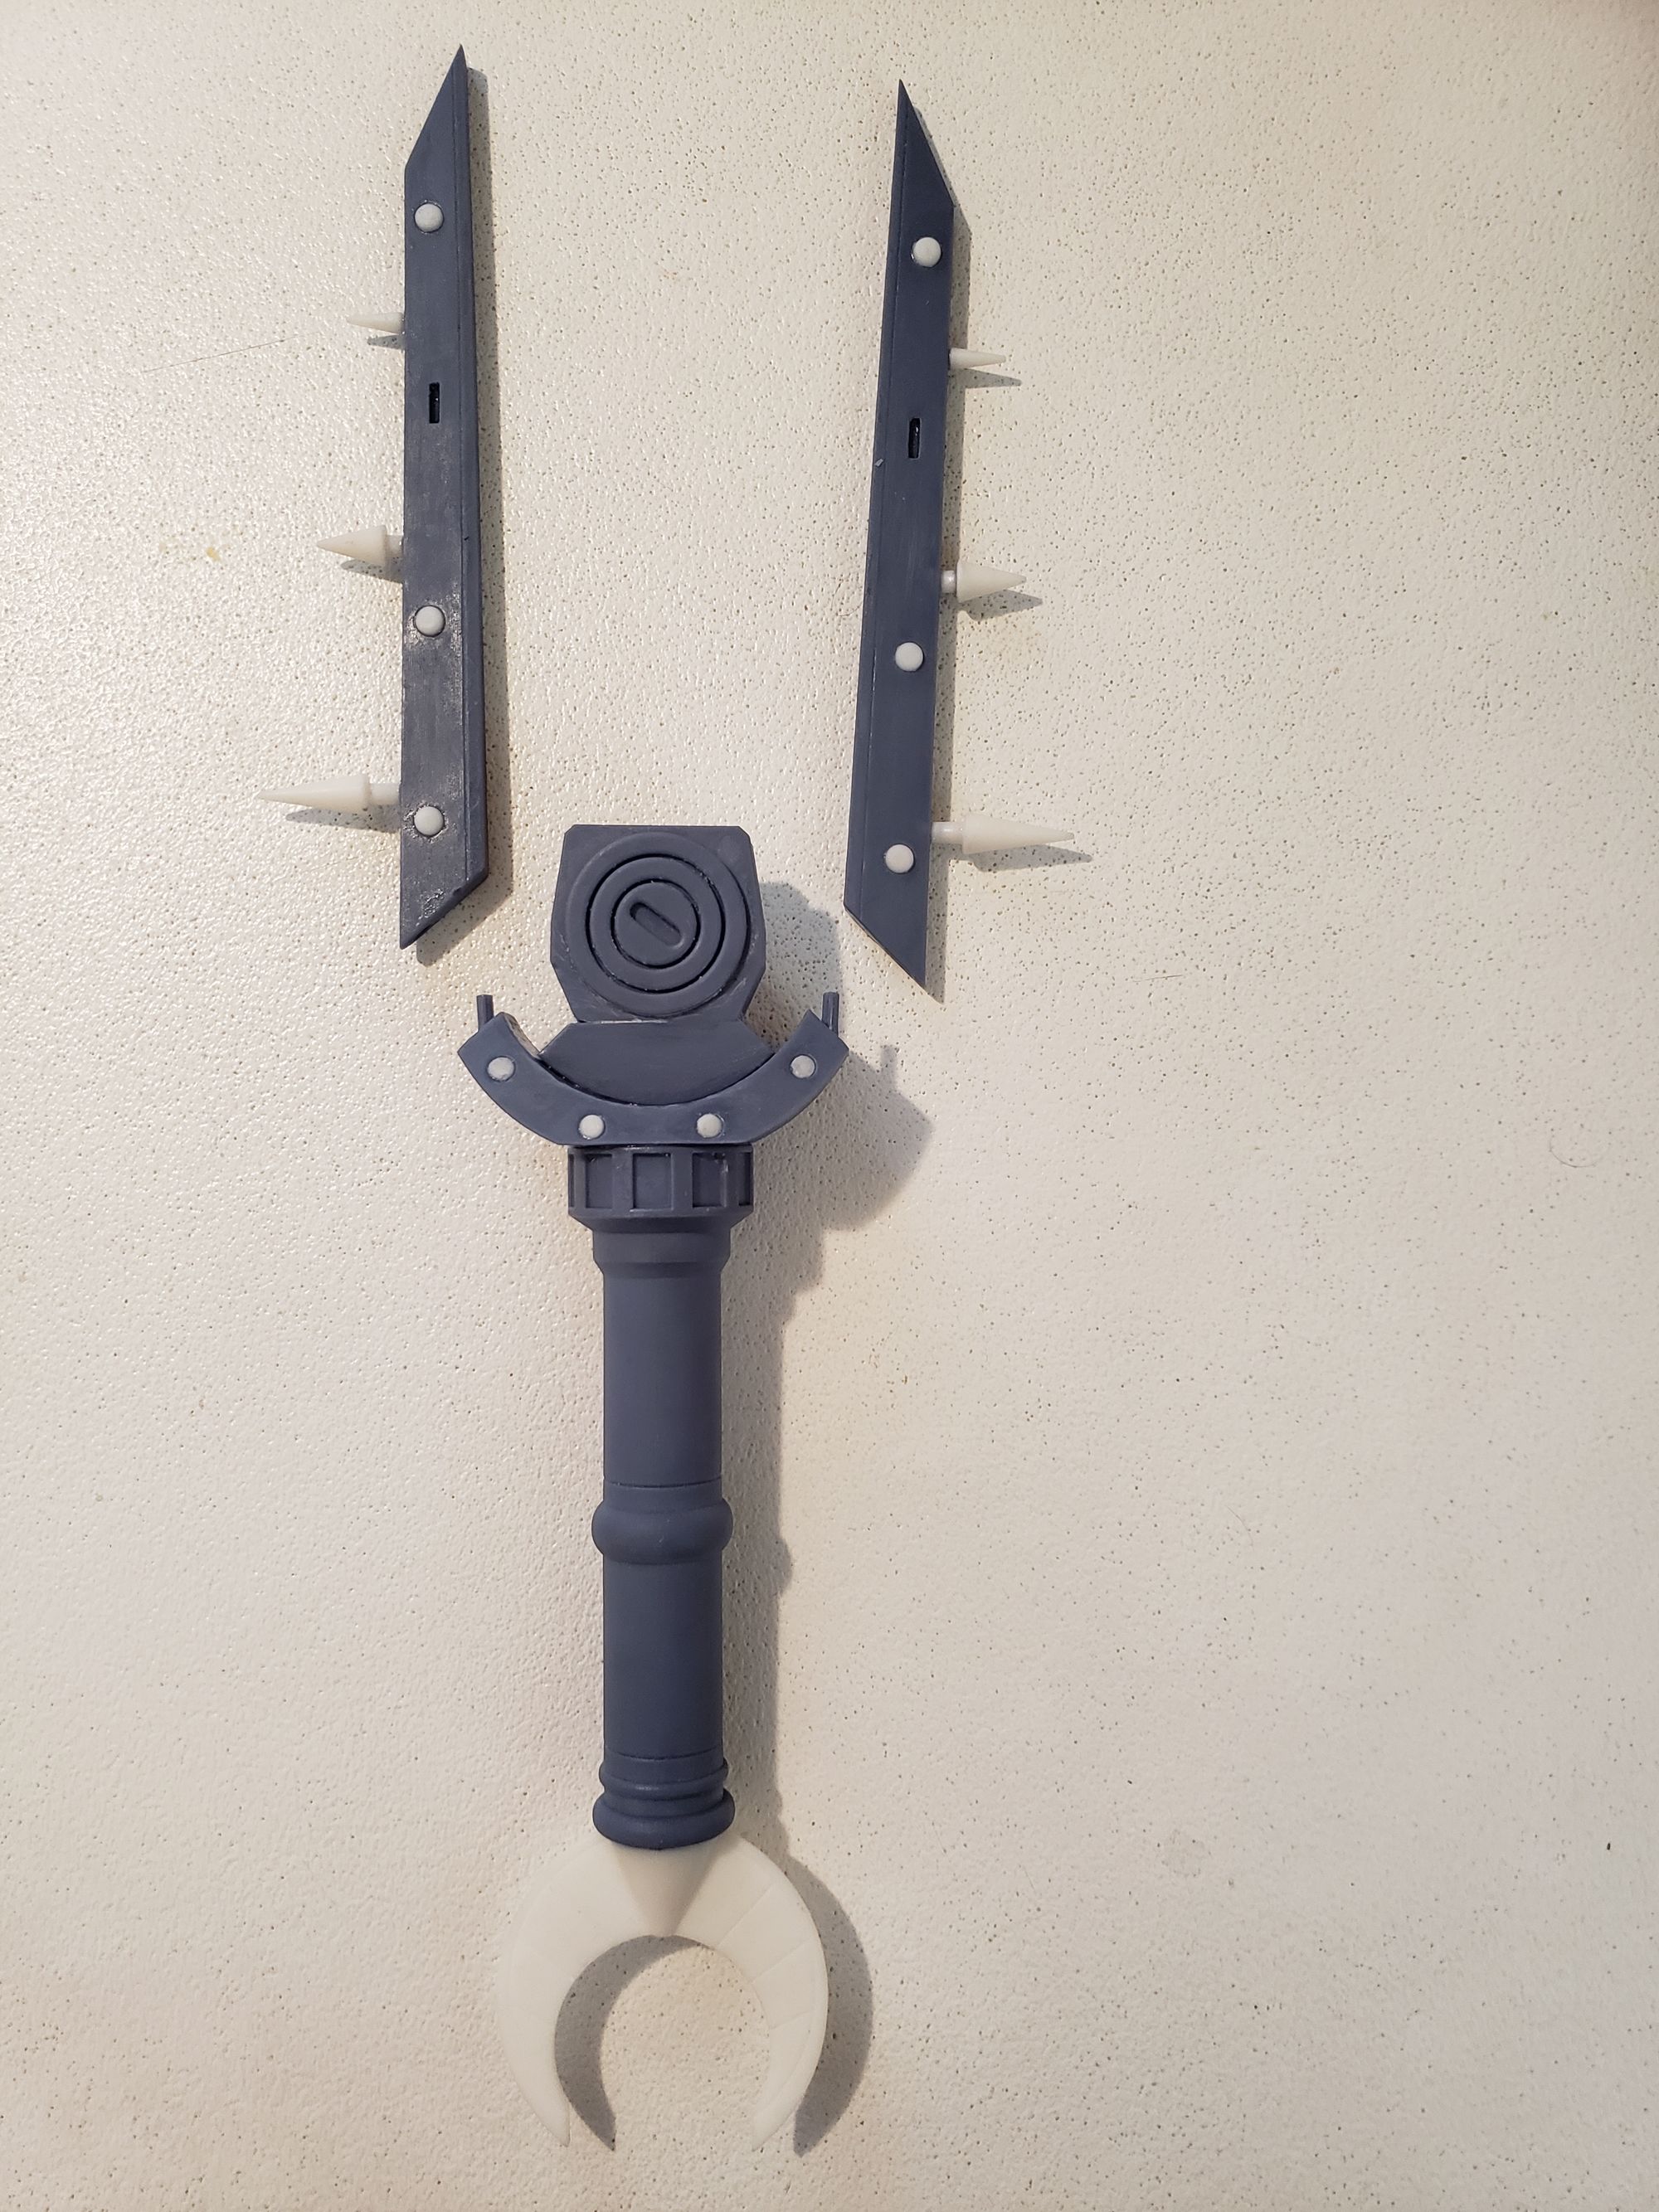
Some issues came up during this which is just due to an accident. The connection stubs for the side grips to the guard were quite small, and one of them broke off on me during assembly because I dropped the model. This was fine at first and I just used some more resin to cure it together again. This time I cured the entire thing at once since it was done. However I once again dropped it after it was fully cured... Resin is fragile, kids. In the end because I had already fully cured it, and it was just that one bit, I used some epoxy resin to support it and really attach to it. It's only noticeable up close so, it was fine. Added a bit of texture to it too so it all worked out.
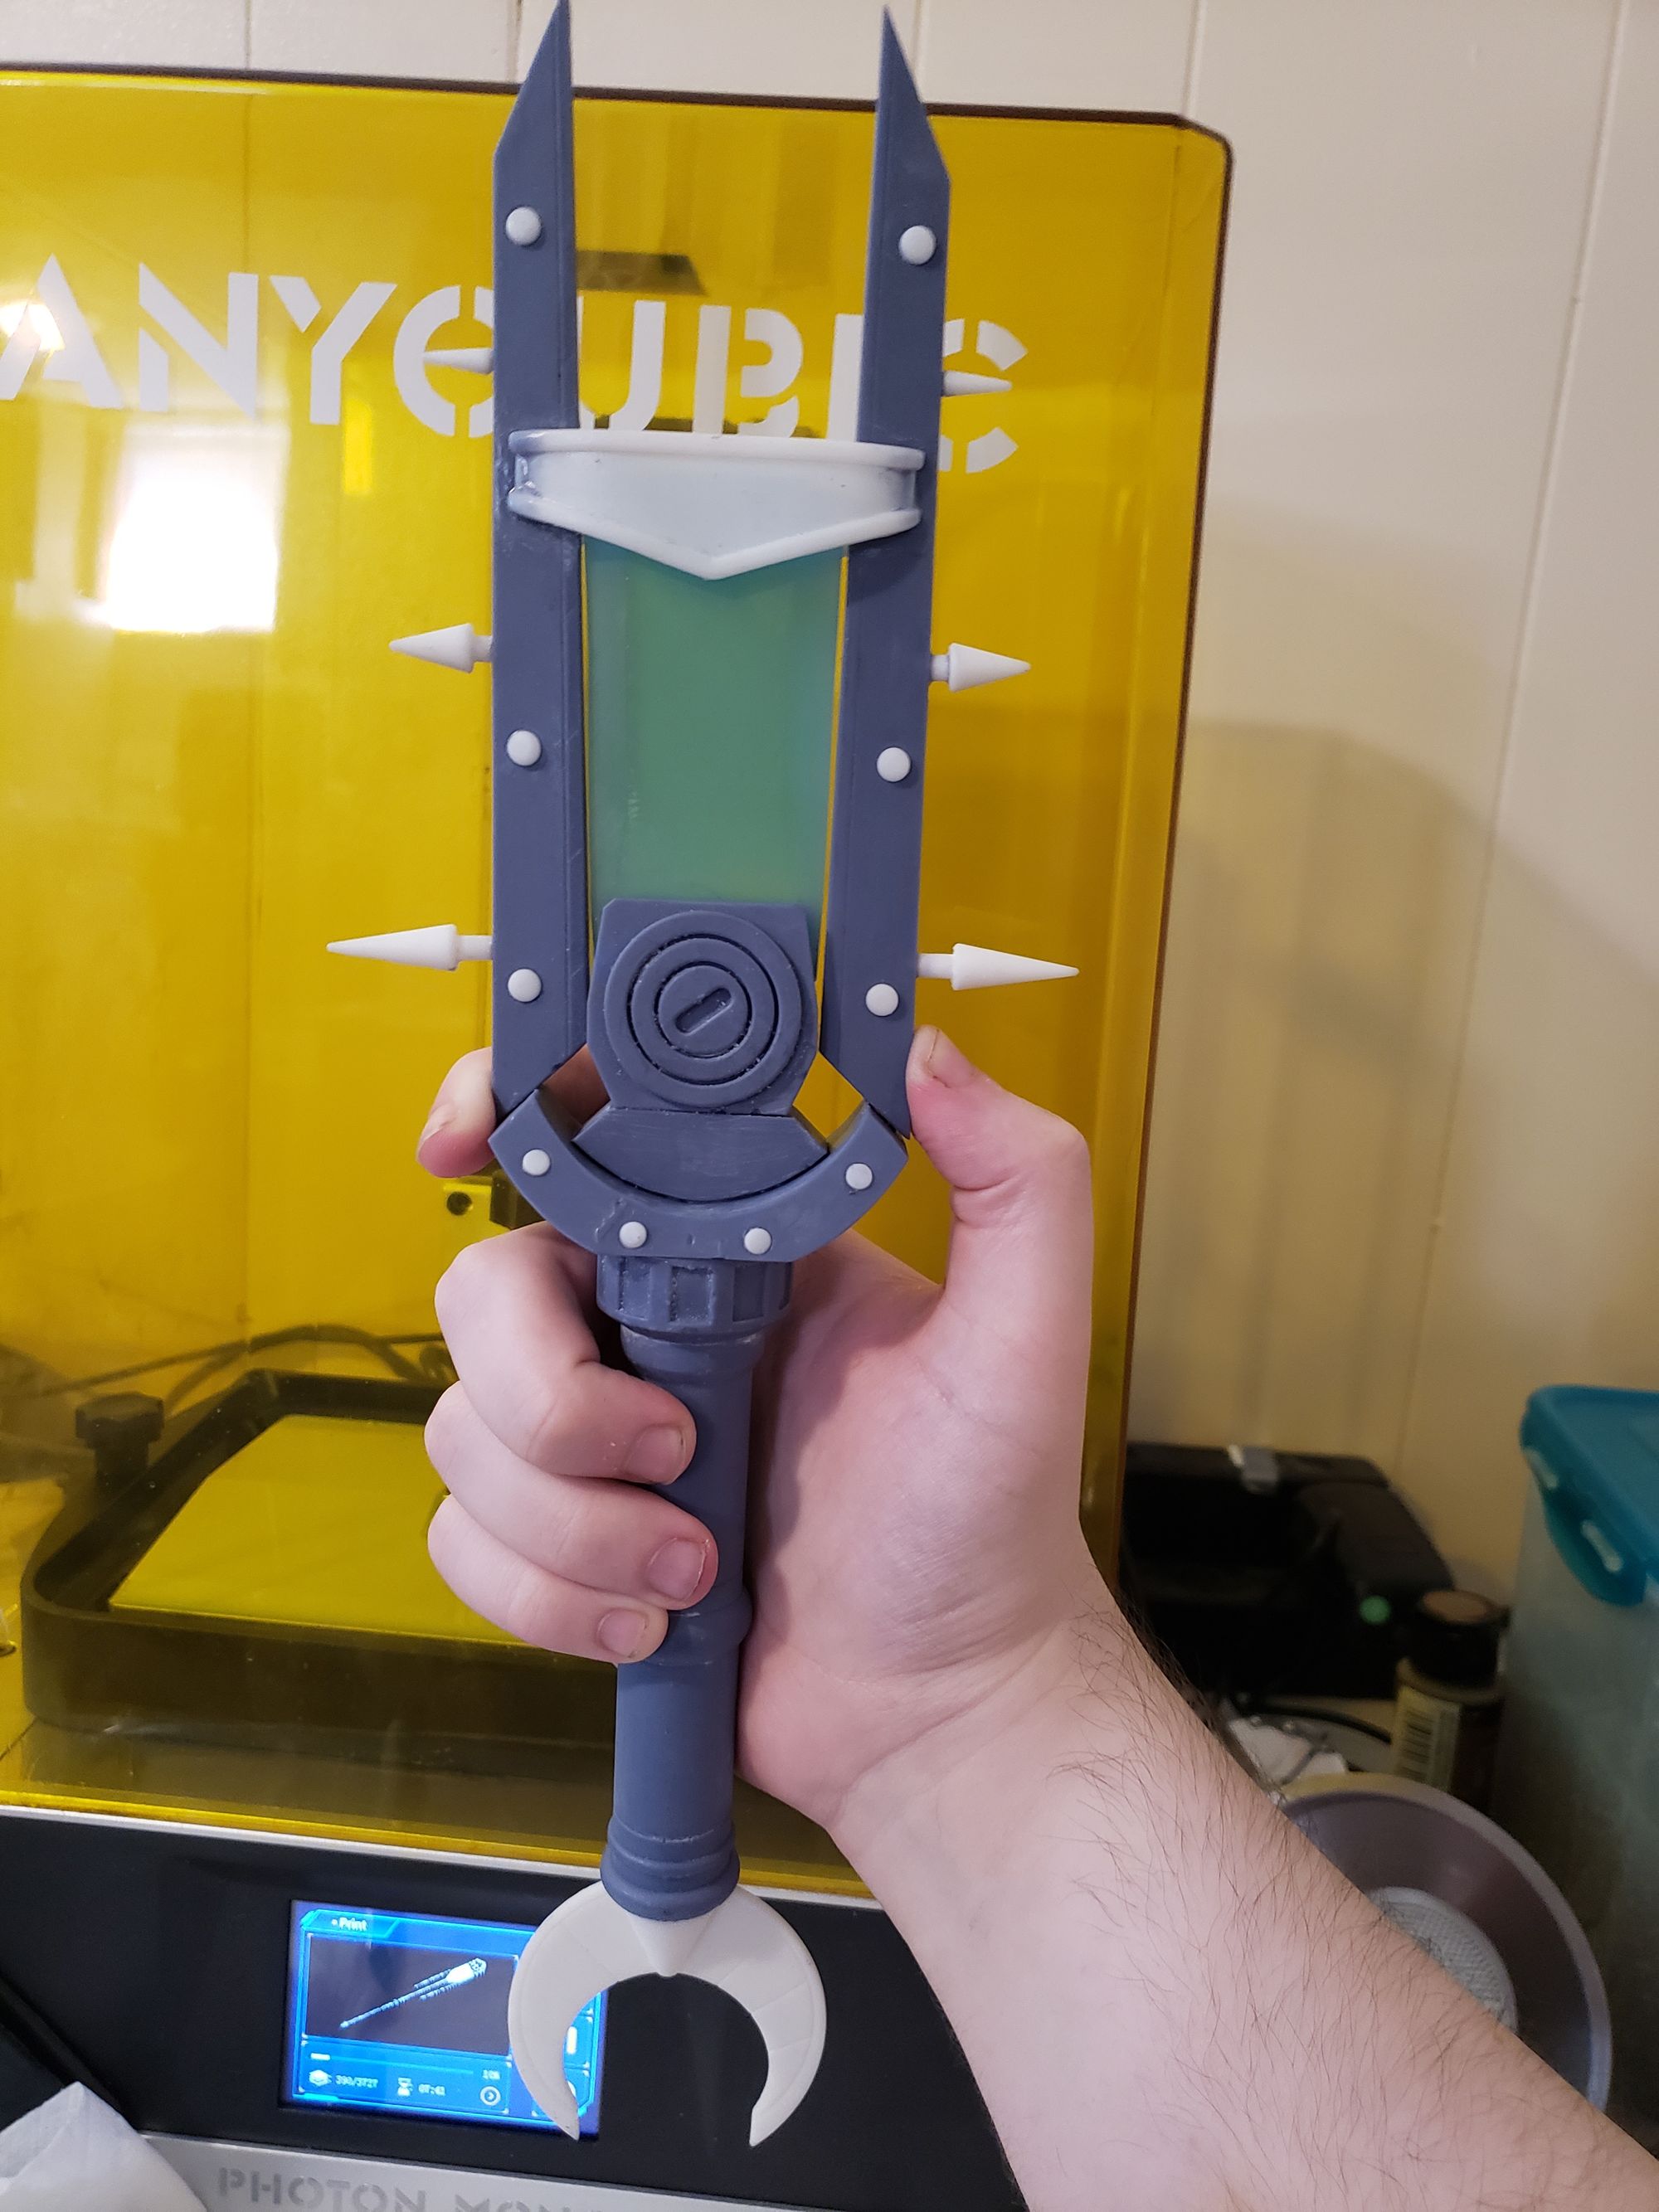
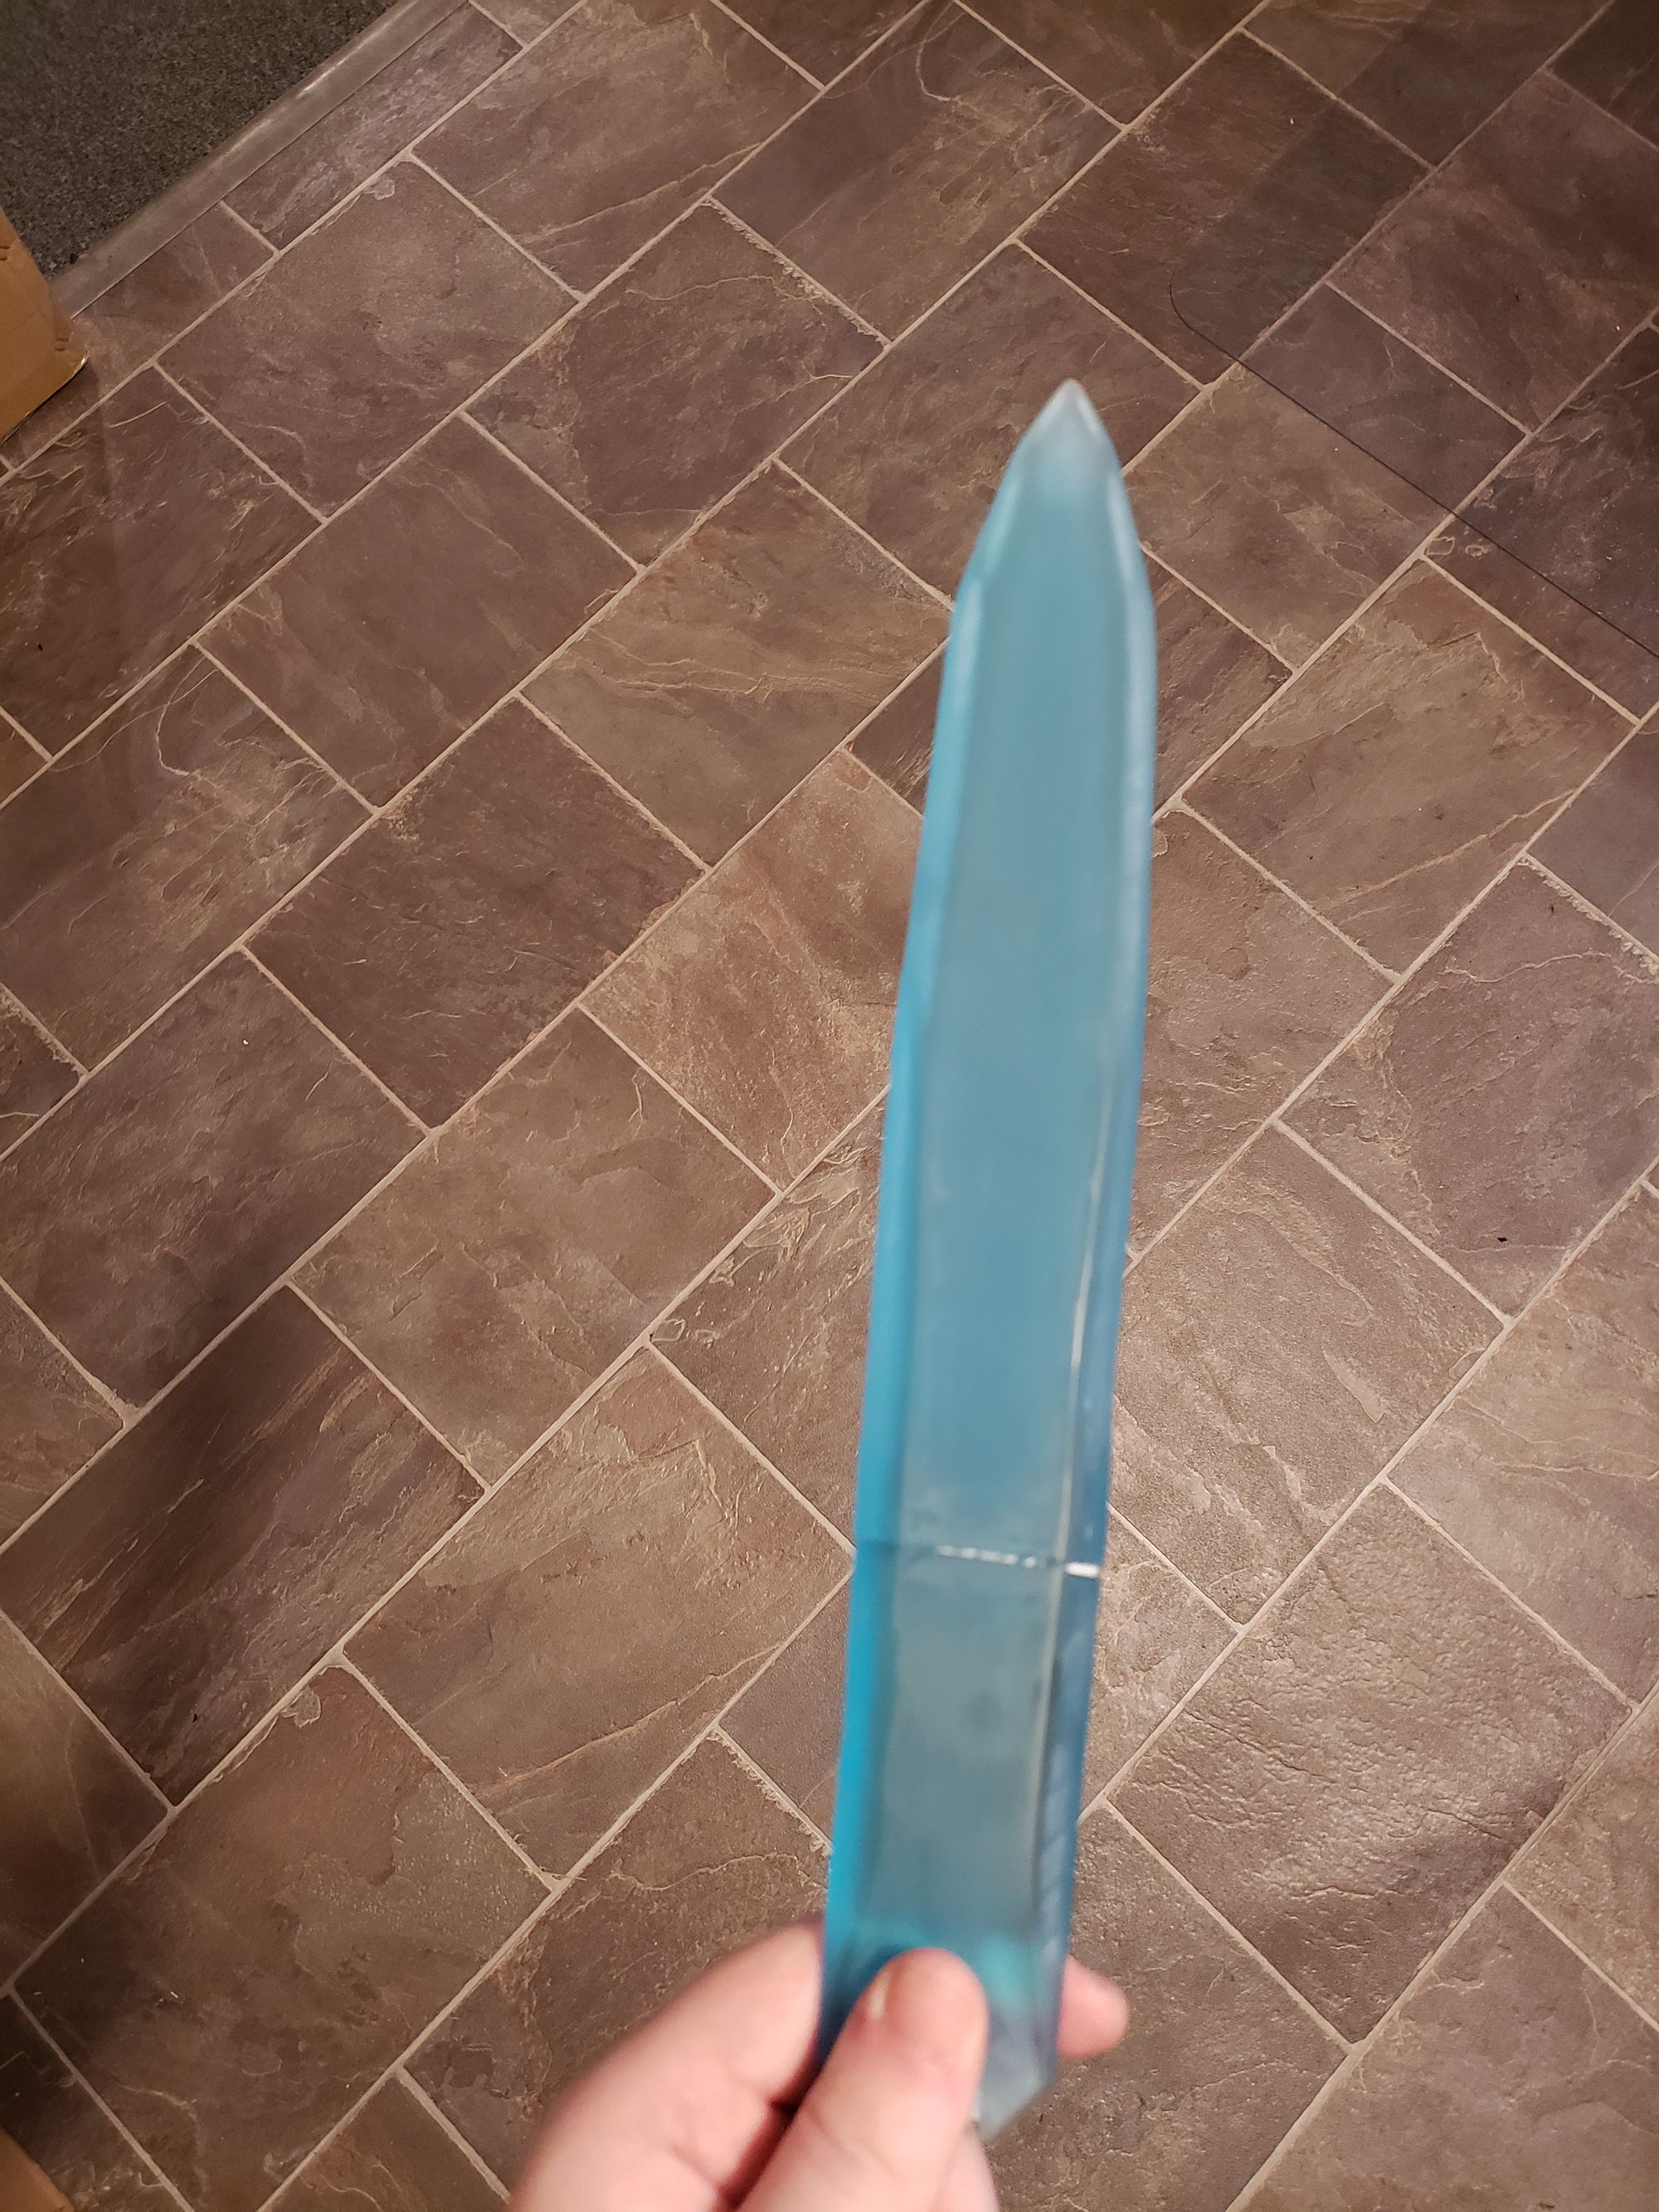
Finally, however, came to printing the blade. I made several mistakes with the blade yet it still turned out acceptable. I used this transparent blue resin for it, which was great. However, I thought that any supports from the 3D printing process (for which, I used CHITUBOX) would end up scarring the print. Since it was transparent, I couldn't hide it with paint. So I only used supports on the edges of one side, pointing each half down 45 degrees.
I was a fool. The scars from supports very easily came off in the post processing stages when making it smooth, but that's for later. The problem that my too few supports caused is that around the middle of the print, they stopped attaching to the blade. But it was still printing mostly okay, so I let it go and eventually they reconnected for the last third of the print. This ended up making the blade ever so slightly lopsided on one side, but it was easily hidden through sanding.
Now, the last issue is something that could've been caused by any number of thing, but near the very end, a few bubbles formed in the top of the blade. Barely noticeable, but they are there. There are definitely measures one can take to reduce the risk of this, but I guarantee that if I reprinted the same file without any settings changed (except the extra supports), it would probably not happen again.
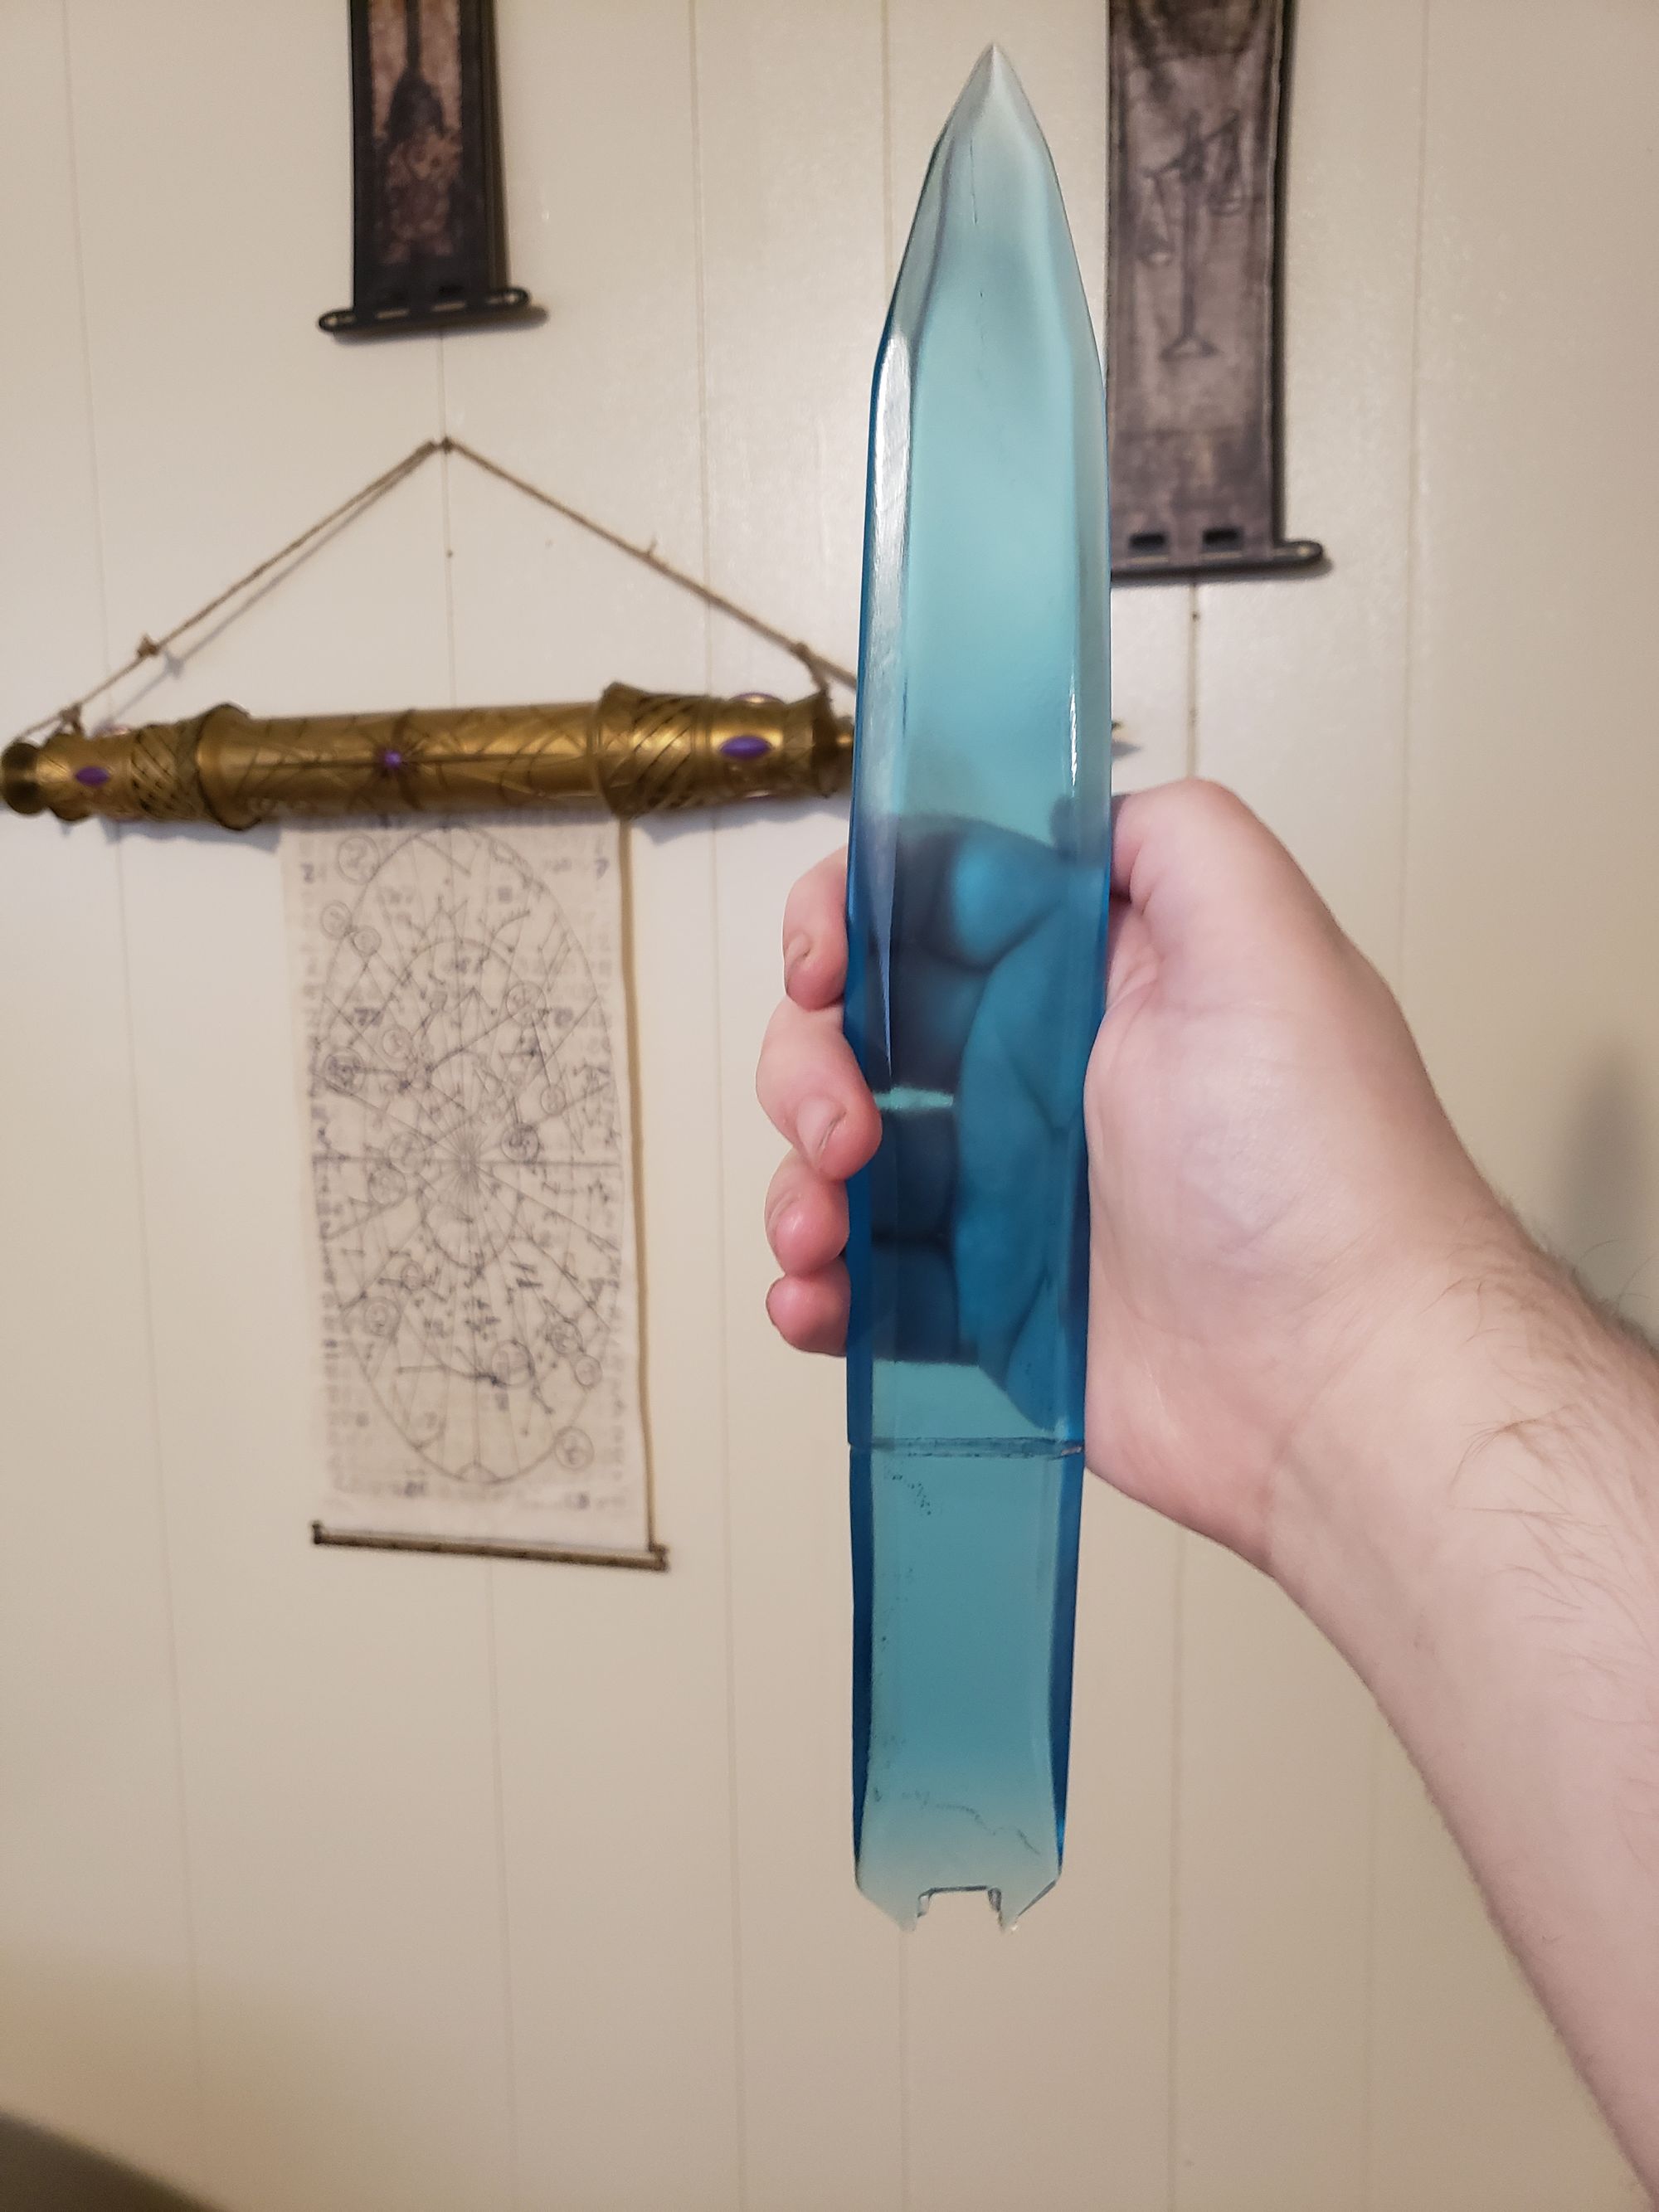
Now to assembly the crystal blade, I quickly got a bit of resin in between the two flat sides I cut up in Blender, attached them and quickly cured them so I could add a bit more to the outside and then fully cure the whole thing into one solid blade. Due to the minor lopsidedness of the larger piece, it didn't fit exactly, but it was easily fixed with sanding.
Post Processing
Sanding the Blade
The beautiful thing about transparent resin prints, is that you can get them very shiny and smooth. I started out with some rough sandpaper, around 800 or 1000 grit, just to get it started to take care of the lopsidedness.
Then I did a few passes with 1200 and 1600 grit sandpaper. Sometimes going in straight lines, other times going in clockwise then counterclockwise circles, in order to help hide any sanding pattern.
At this point, the lopsidedness was gone, the minor hints of layer lines (yes, resin printers can have very small ones) were gone, but it wasn't smooth - yet.
Moving onto 2000 grit sandpaper, I started wet-sanding. Using a little bit of water, I kept sanding, getting covered in wet clumps of resin dust.
Note: Wear a good mask/respirator when sanding resin! Even if wet-sanding, which reduces the amount that goes in the air, you should still wear a mask.
More sanding later, going up to 2400, 3000, 4000 and then skipping straight to 6000 grit, all wet-sanding. Been doing it for a couple hours at this point, ran out of water, and yes I'll admit it, sometimes I just used spit because I was in the groove of sanding it. By this time it was 3am, but oh my I've never felt anything as smooth as that blade. It was incredibly shiny and smooth after I washed it off, I was afraid it would slip out of my hands!
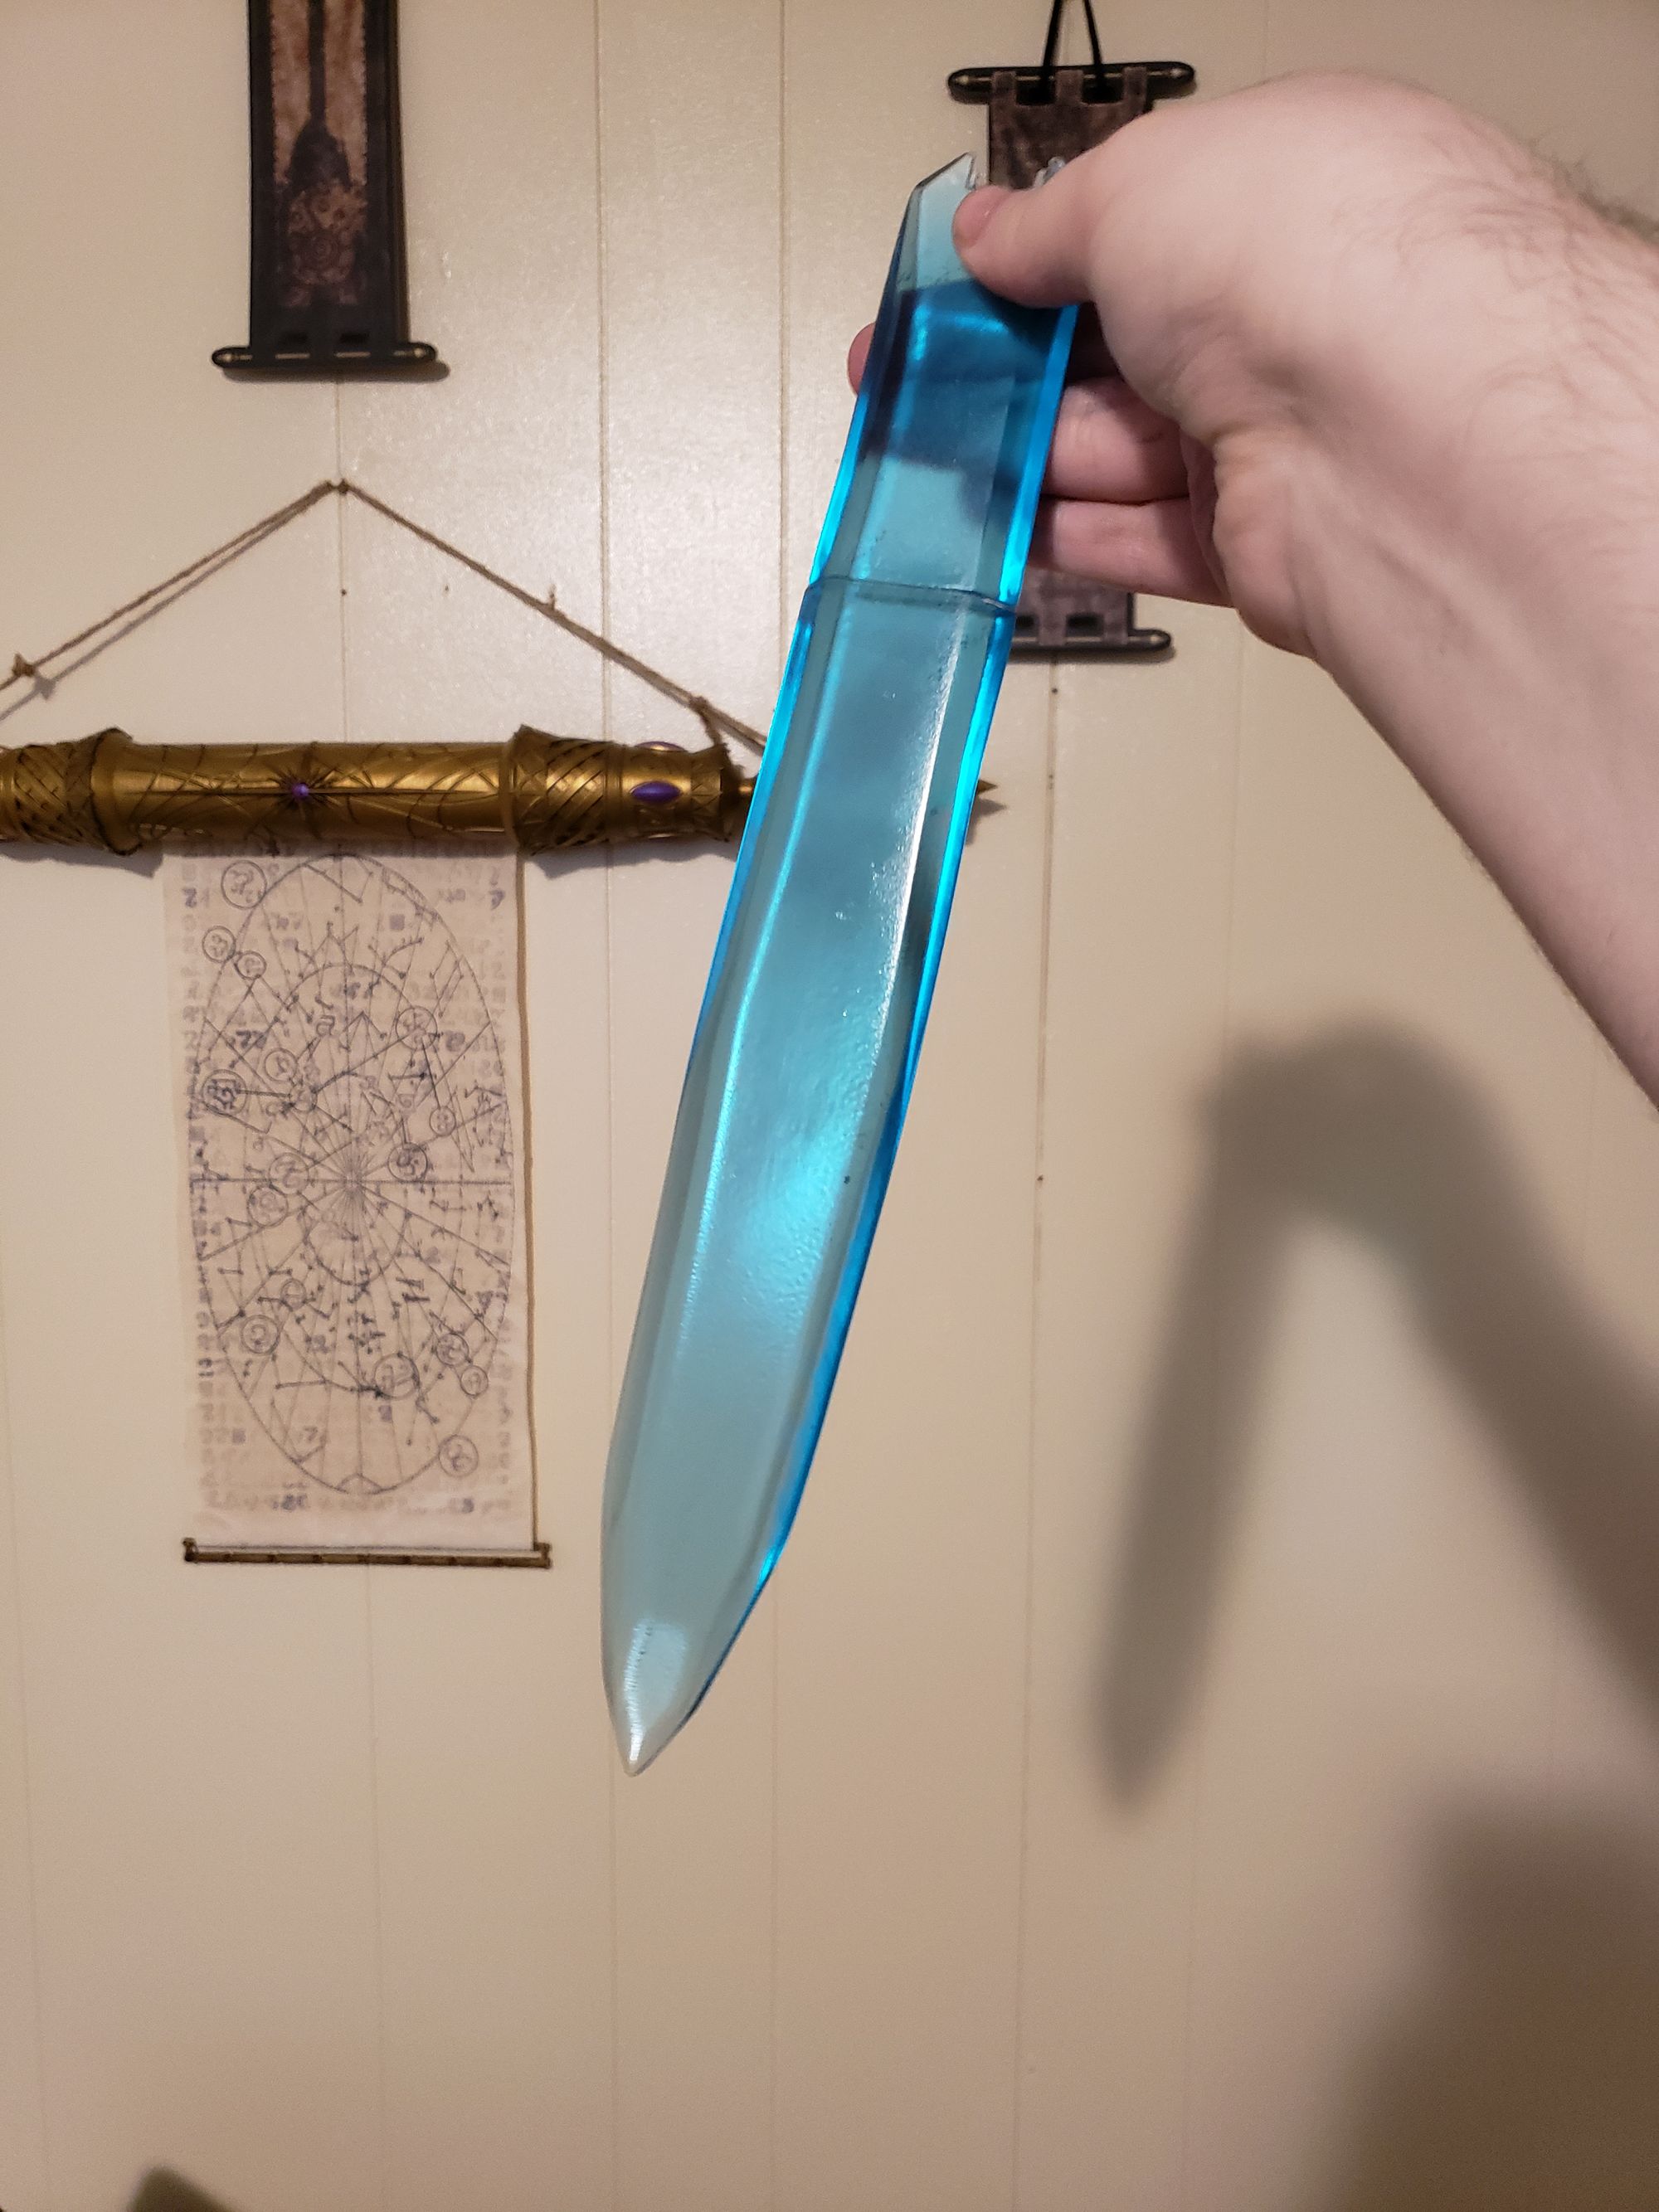
Left: Before the protective clearcoat. Middle & Right: After the clearcoat
Unfortunately, because it was a transparent resin, the only way to protect it from curing further due to UV light from the sun, was to clearcoat it with a glossy spray which was UV resistant. This made it slightly less smooth, but kept its shine and would be well protected light-wise no matter where it is.
Painting
This was pretty straight-forward, and I didn't even need to do any weathering using this one trick I like doing for anything I paint that's meant to look like metal.
To get everything ready, I gave a good spray of a primer over everything. The colour doesn't matter, but going with black is pretty good, though depending on if you want to see if you missed any spots, may not be that good.
The next step was something that I often go back and forth between. Either I use a matte black spray paint primer and then overcoat it with a glossy clearcoat, or I do a glossy black spray paint primer. Sometimes I even still do a glossy clearcoat over the glossy black. Either way, the end goal is to get a very glossy, black base coat.
This is where the magic happens. The trick to get it to look like metal is already halfway done. You usually want a shiny black undercoat, however the next steps is up to personal preference. Normally I'd say air-brushing works really well for metal paints, but I've had mixed experiences with it. Instead, I did a dry-brushing technique.
Using an old, rough brush you don't care too much about, first get your metal paint of choice (I used a brushed bronze paint for this) and push out a bit onto your paint tray or something. Then very lightly dab your dry brush onto the paint, only getting a little on it. Then, on some paper towel, flick and spam the life out of your paint brush until only a very little bit of paint colour comes off onto the paper towel. The goal is to barely have any on or in the brush. Then, you repeat this flicking and spamming on the glossy black piece. It still has paint on it, trust me. Two coats in an area is usually enough to make it look like real brushed metal.
This video is from another project, but essentially the same technique. It's very hard to do with only one hand since I was filming it. Ideally, spam more on the paper towel, and spam more on the piece to paint. It'll only take one or two coats to really get it to look good.
The dry-brush technique over some black basecoat ends up doing what I end up calling "reversed blackwash weathering". It'll have glimmers of natural darkness and aging from the black undercoat, and since dry-brushing first hits the highpoints and then goes deeper the more you do it, the deepest parts will be darkest. This is essentially what a dark wash does for weathering, just in reverse!
Once the entire base of Keening was dry-brushed with this bronze paint, I then used a thinner brush to do some highlighting on the button/bolts or whatever they are, and the centre design. I used a Mayan Gold paint for this, no special dry-brushing, just thing, light highlighting.
And of course, to protect it and give it a light shine of metal, one final complete clearcoat of the entire base.
Completion
Now to make Wraithguard, for I have need of it, and the real Sunder.
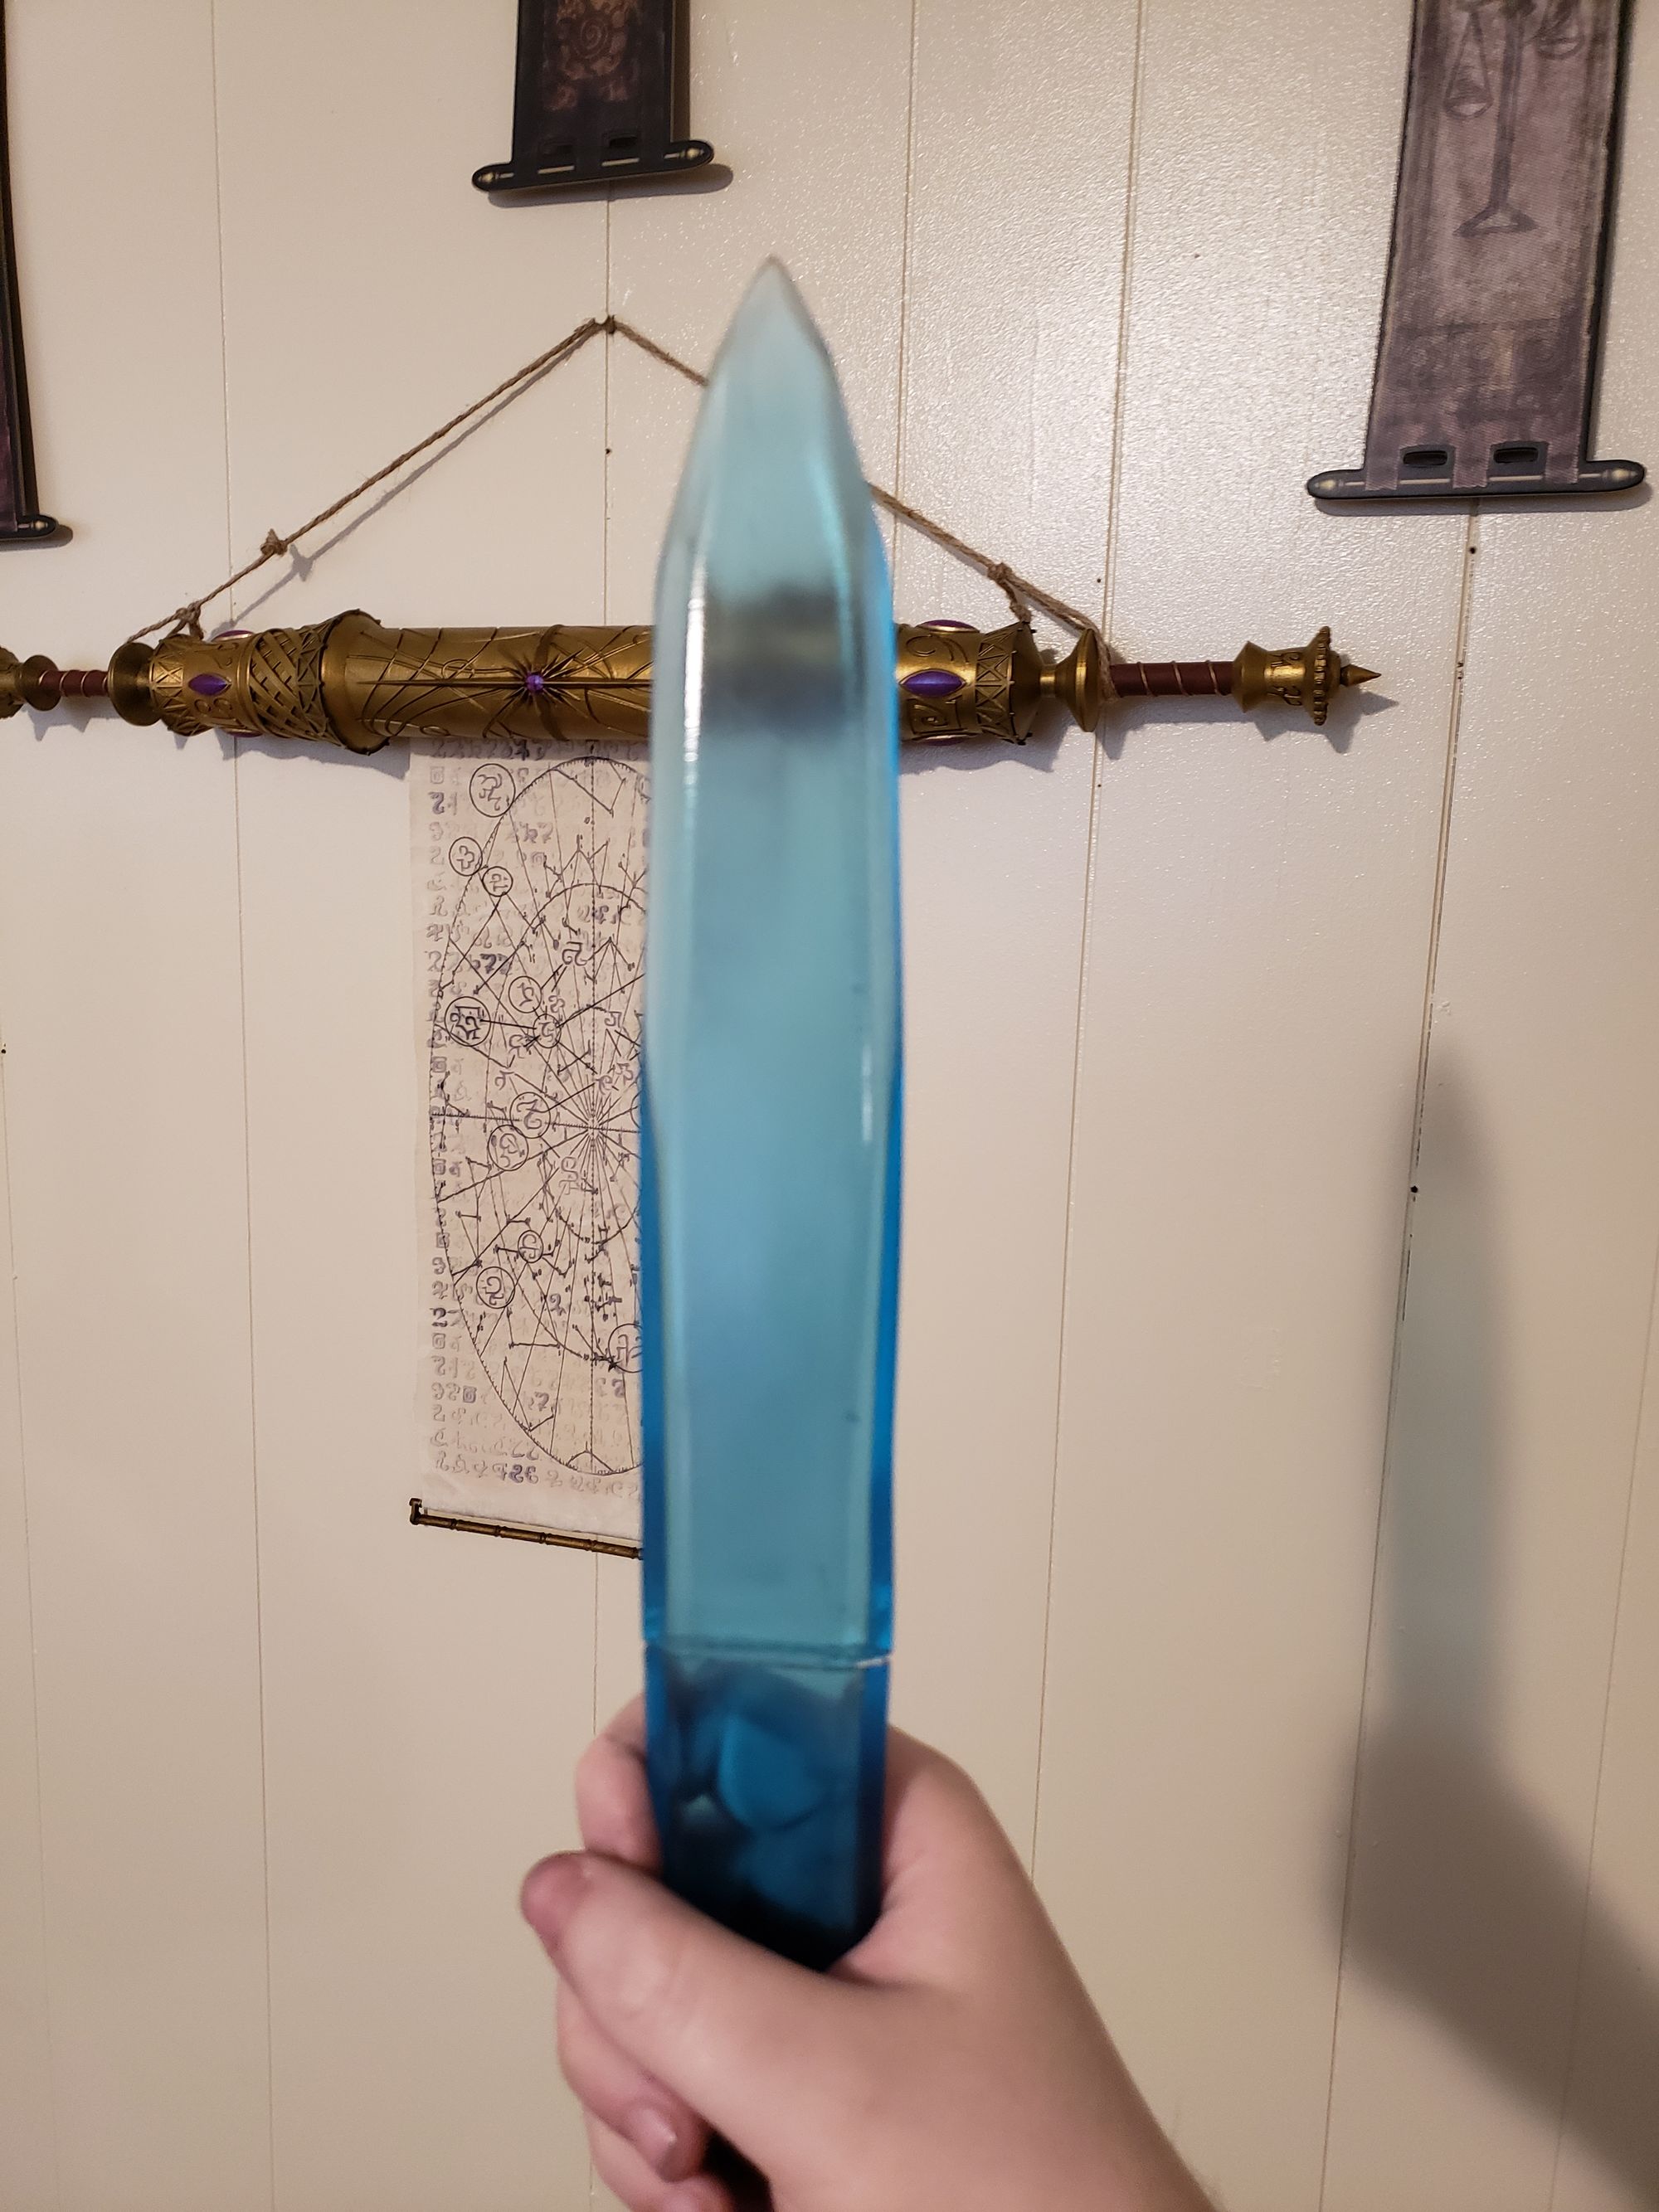
The final step to assembly was inserting the blade into its slot in the guard. It is a snug fit, but just to be safe, I put a tiny dab of super glue on the inside then slid it into place. It's enough that if I pull hard enough it'll come loose without breaking, but won't ever fall out.
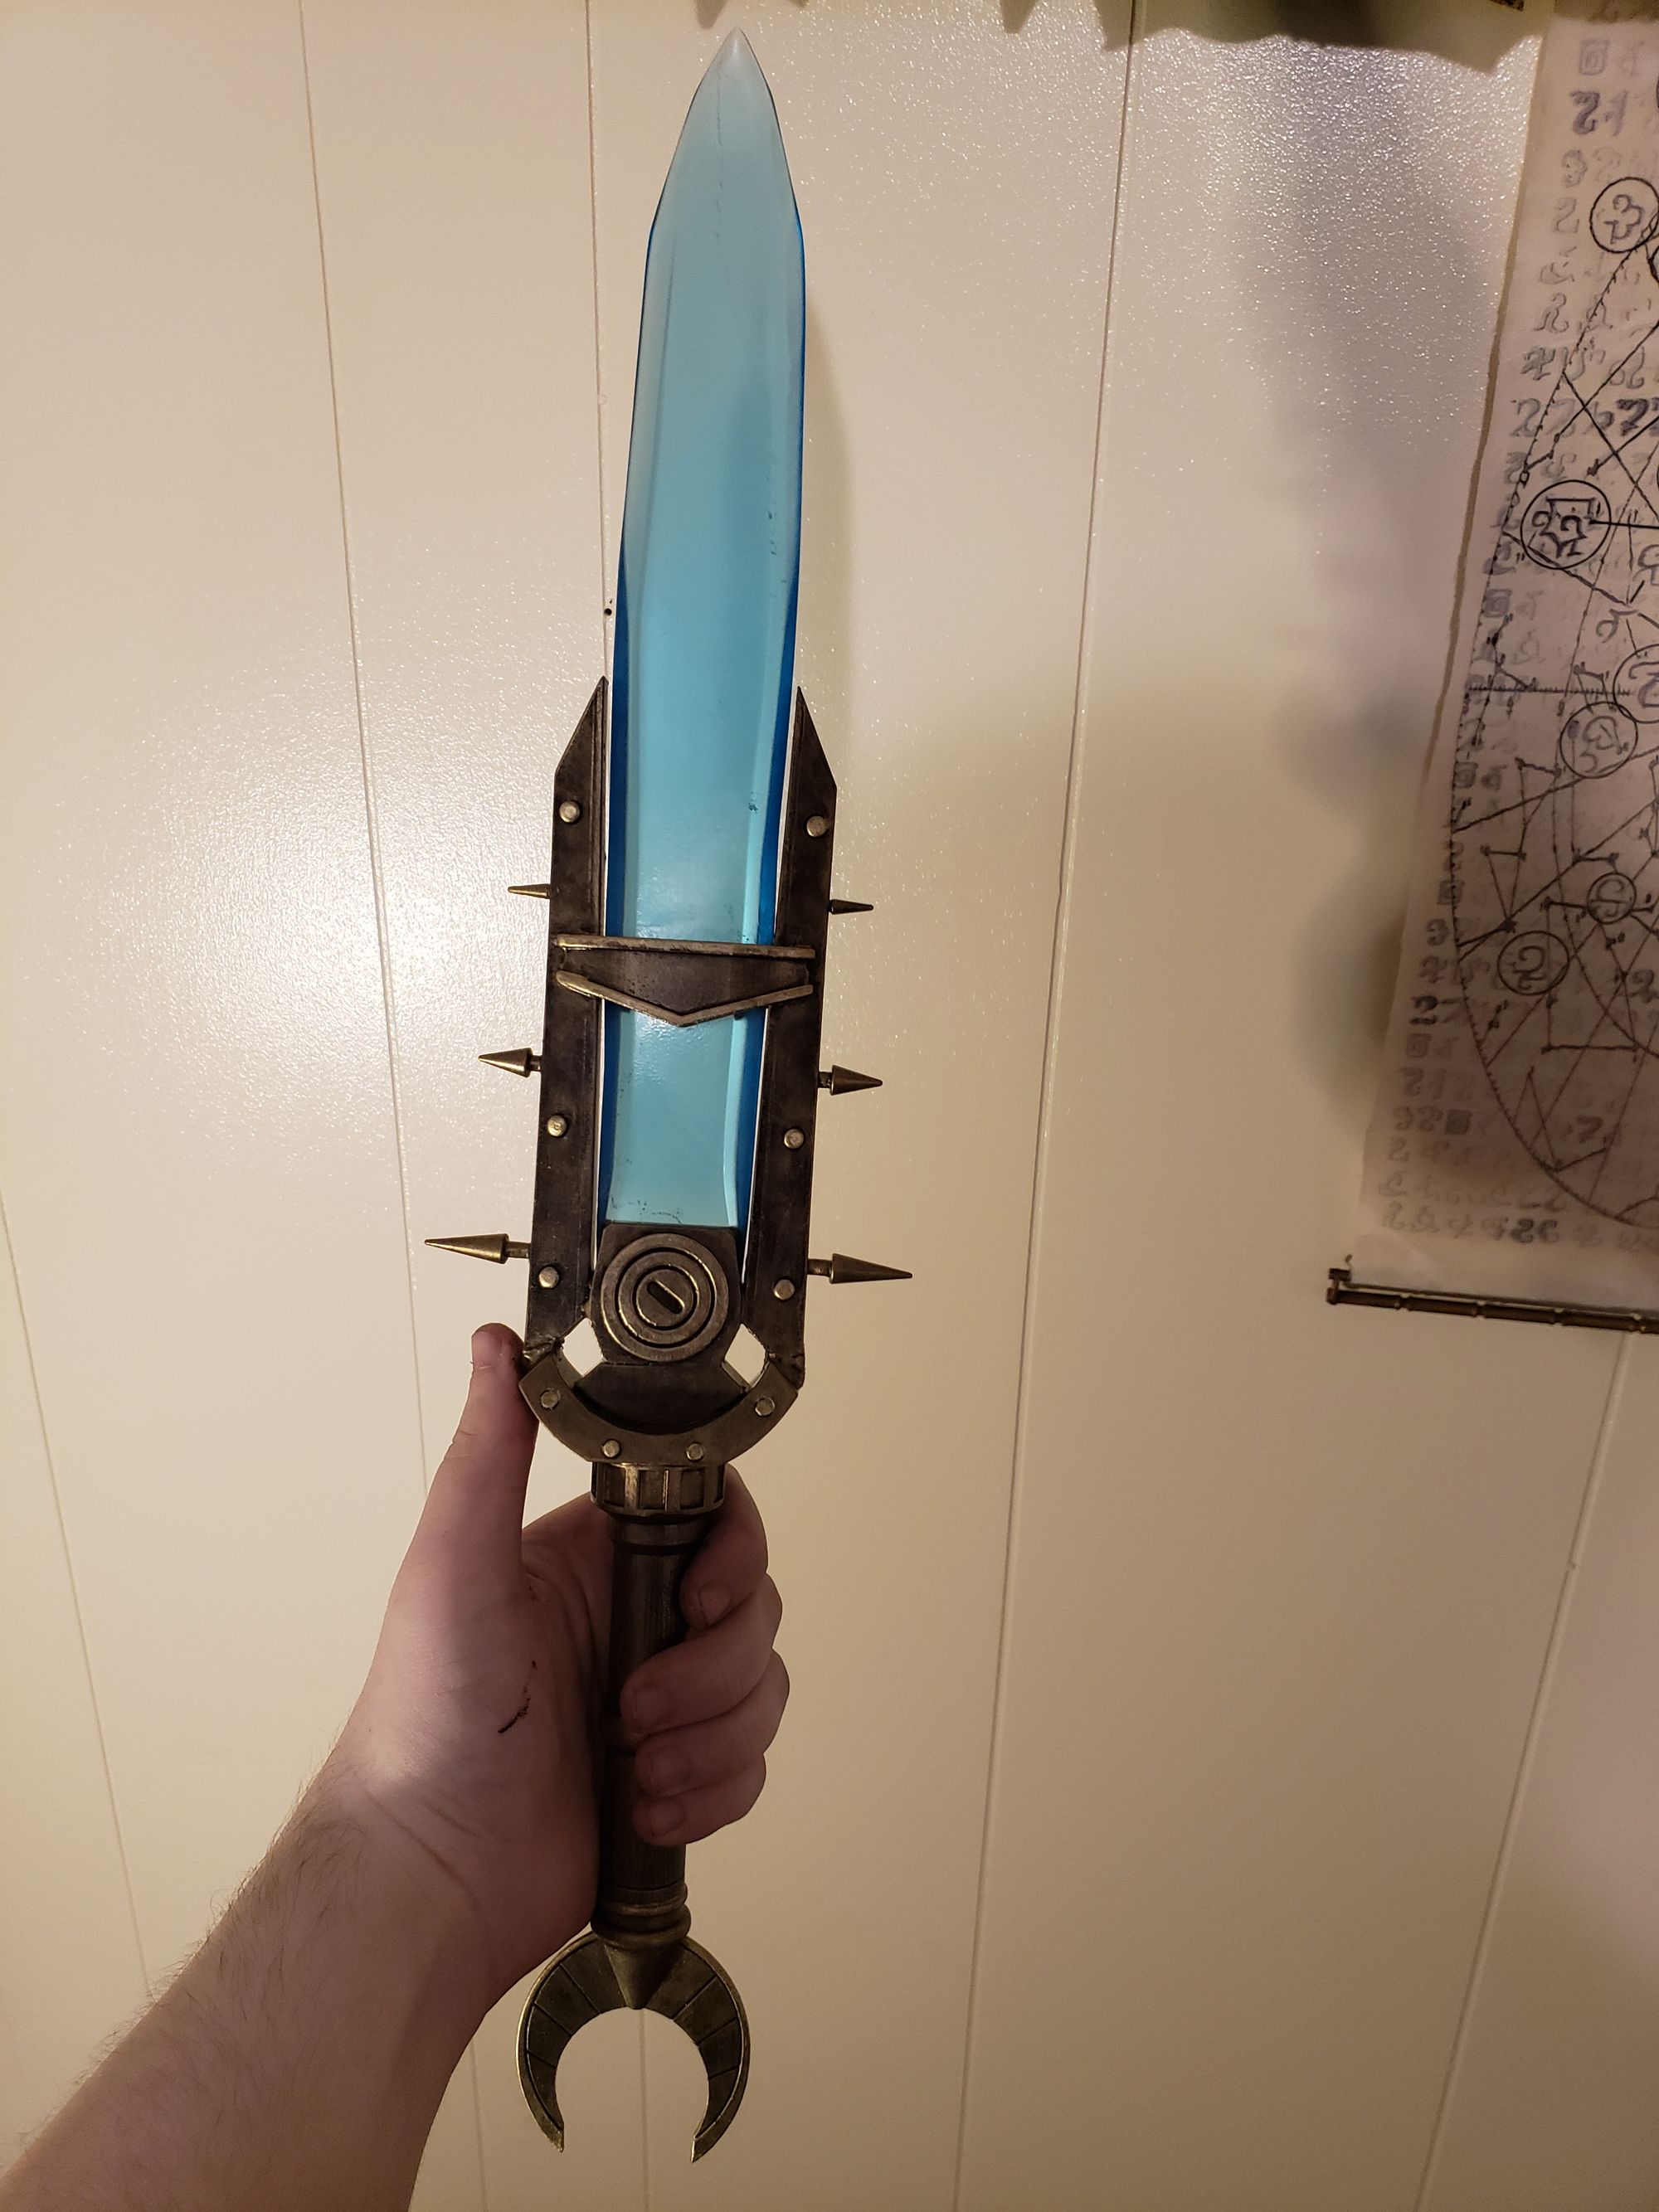
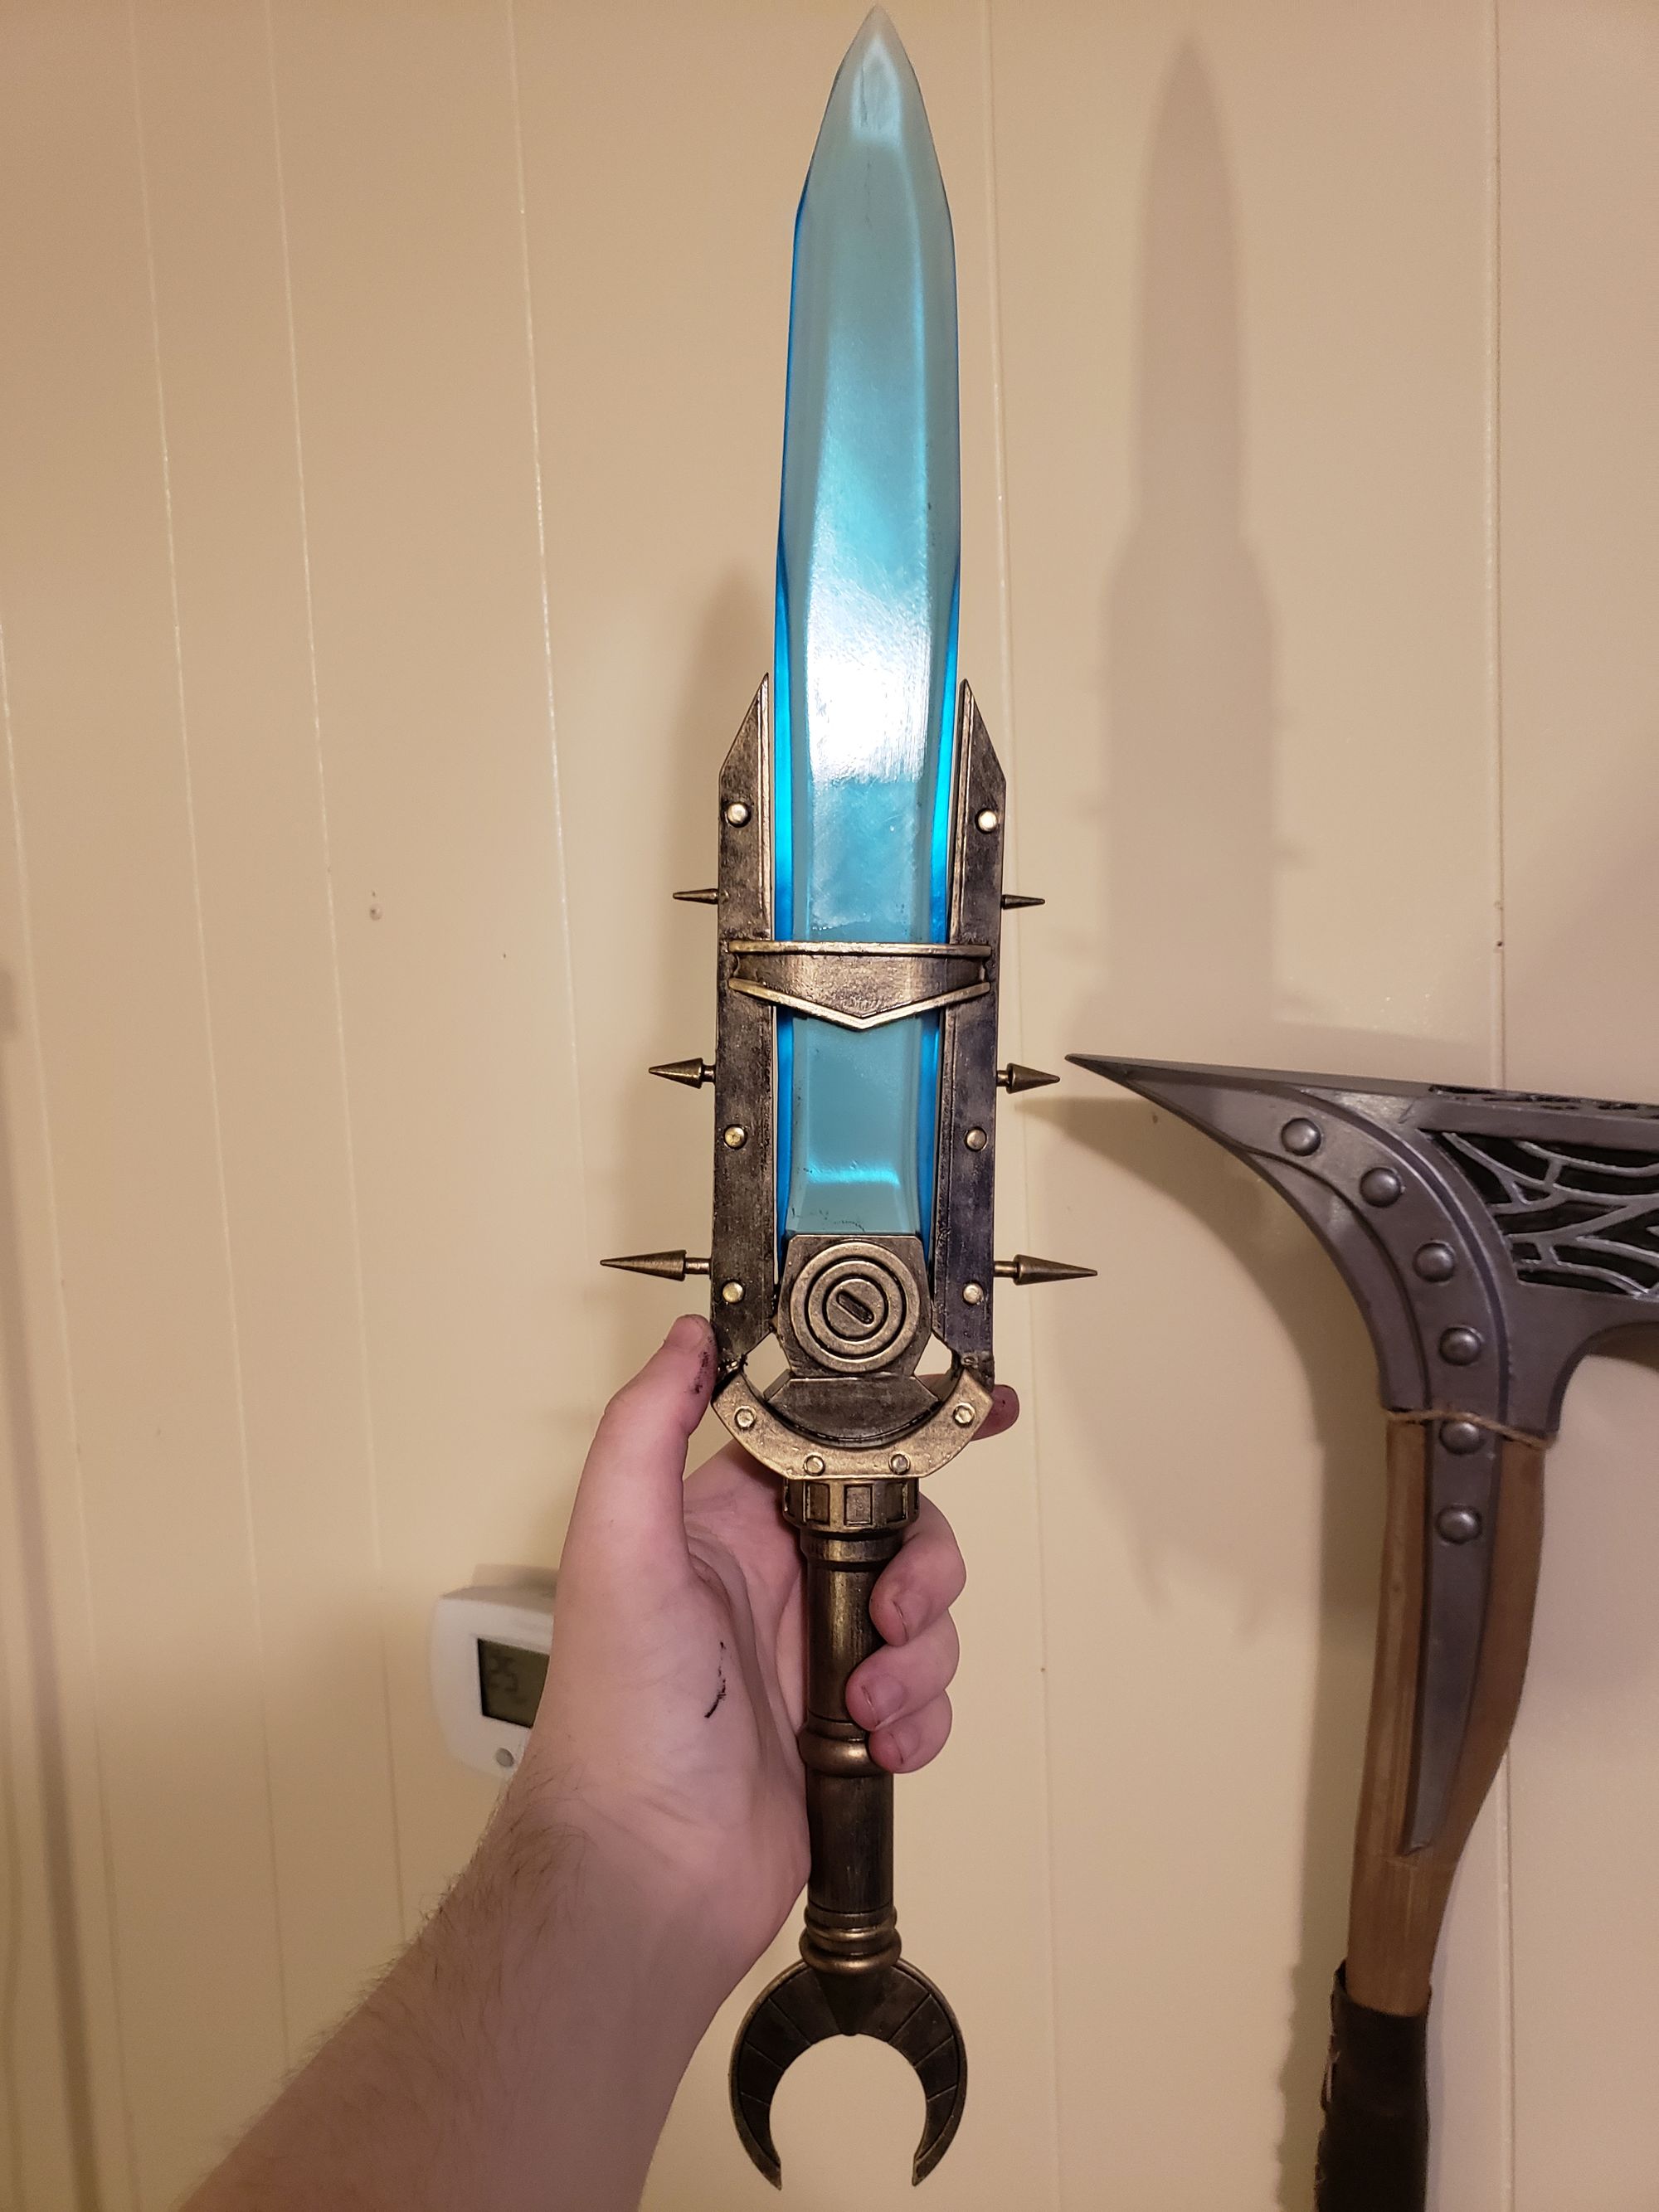
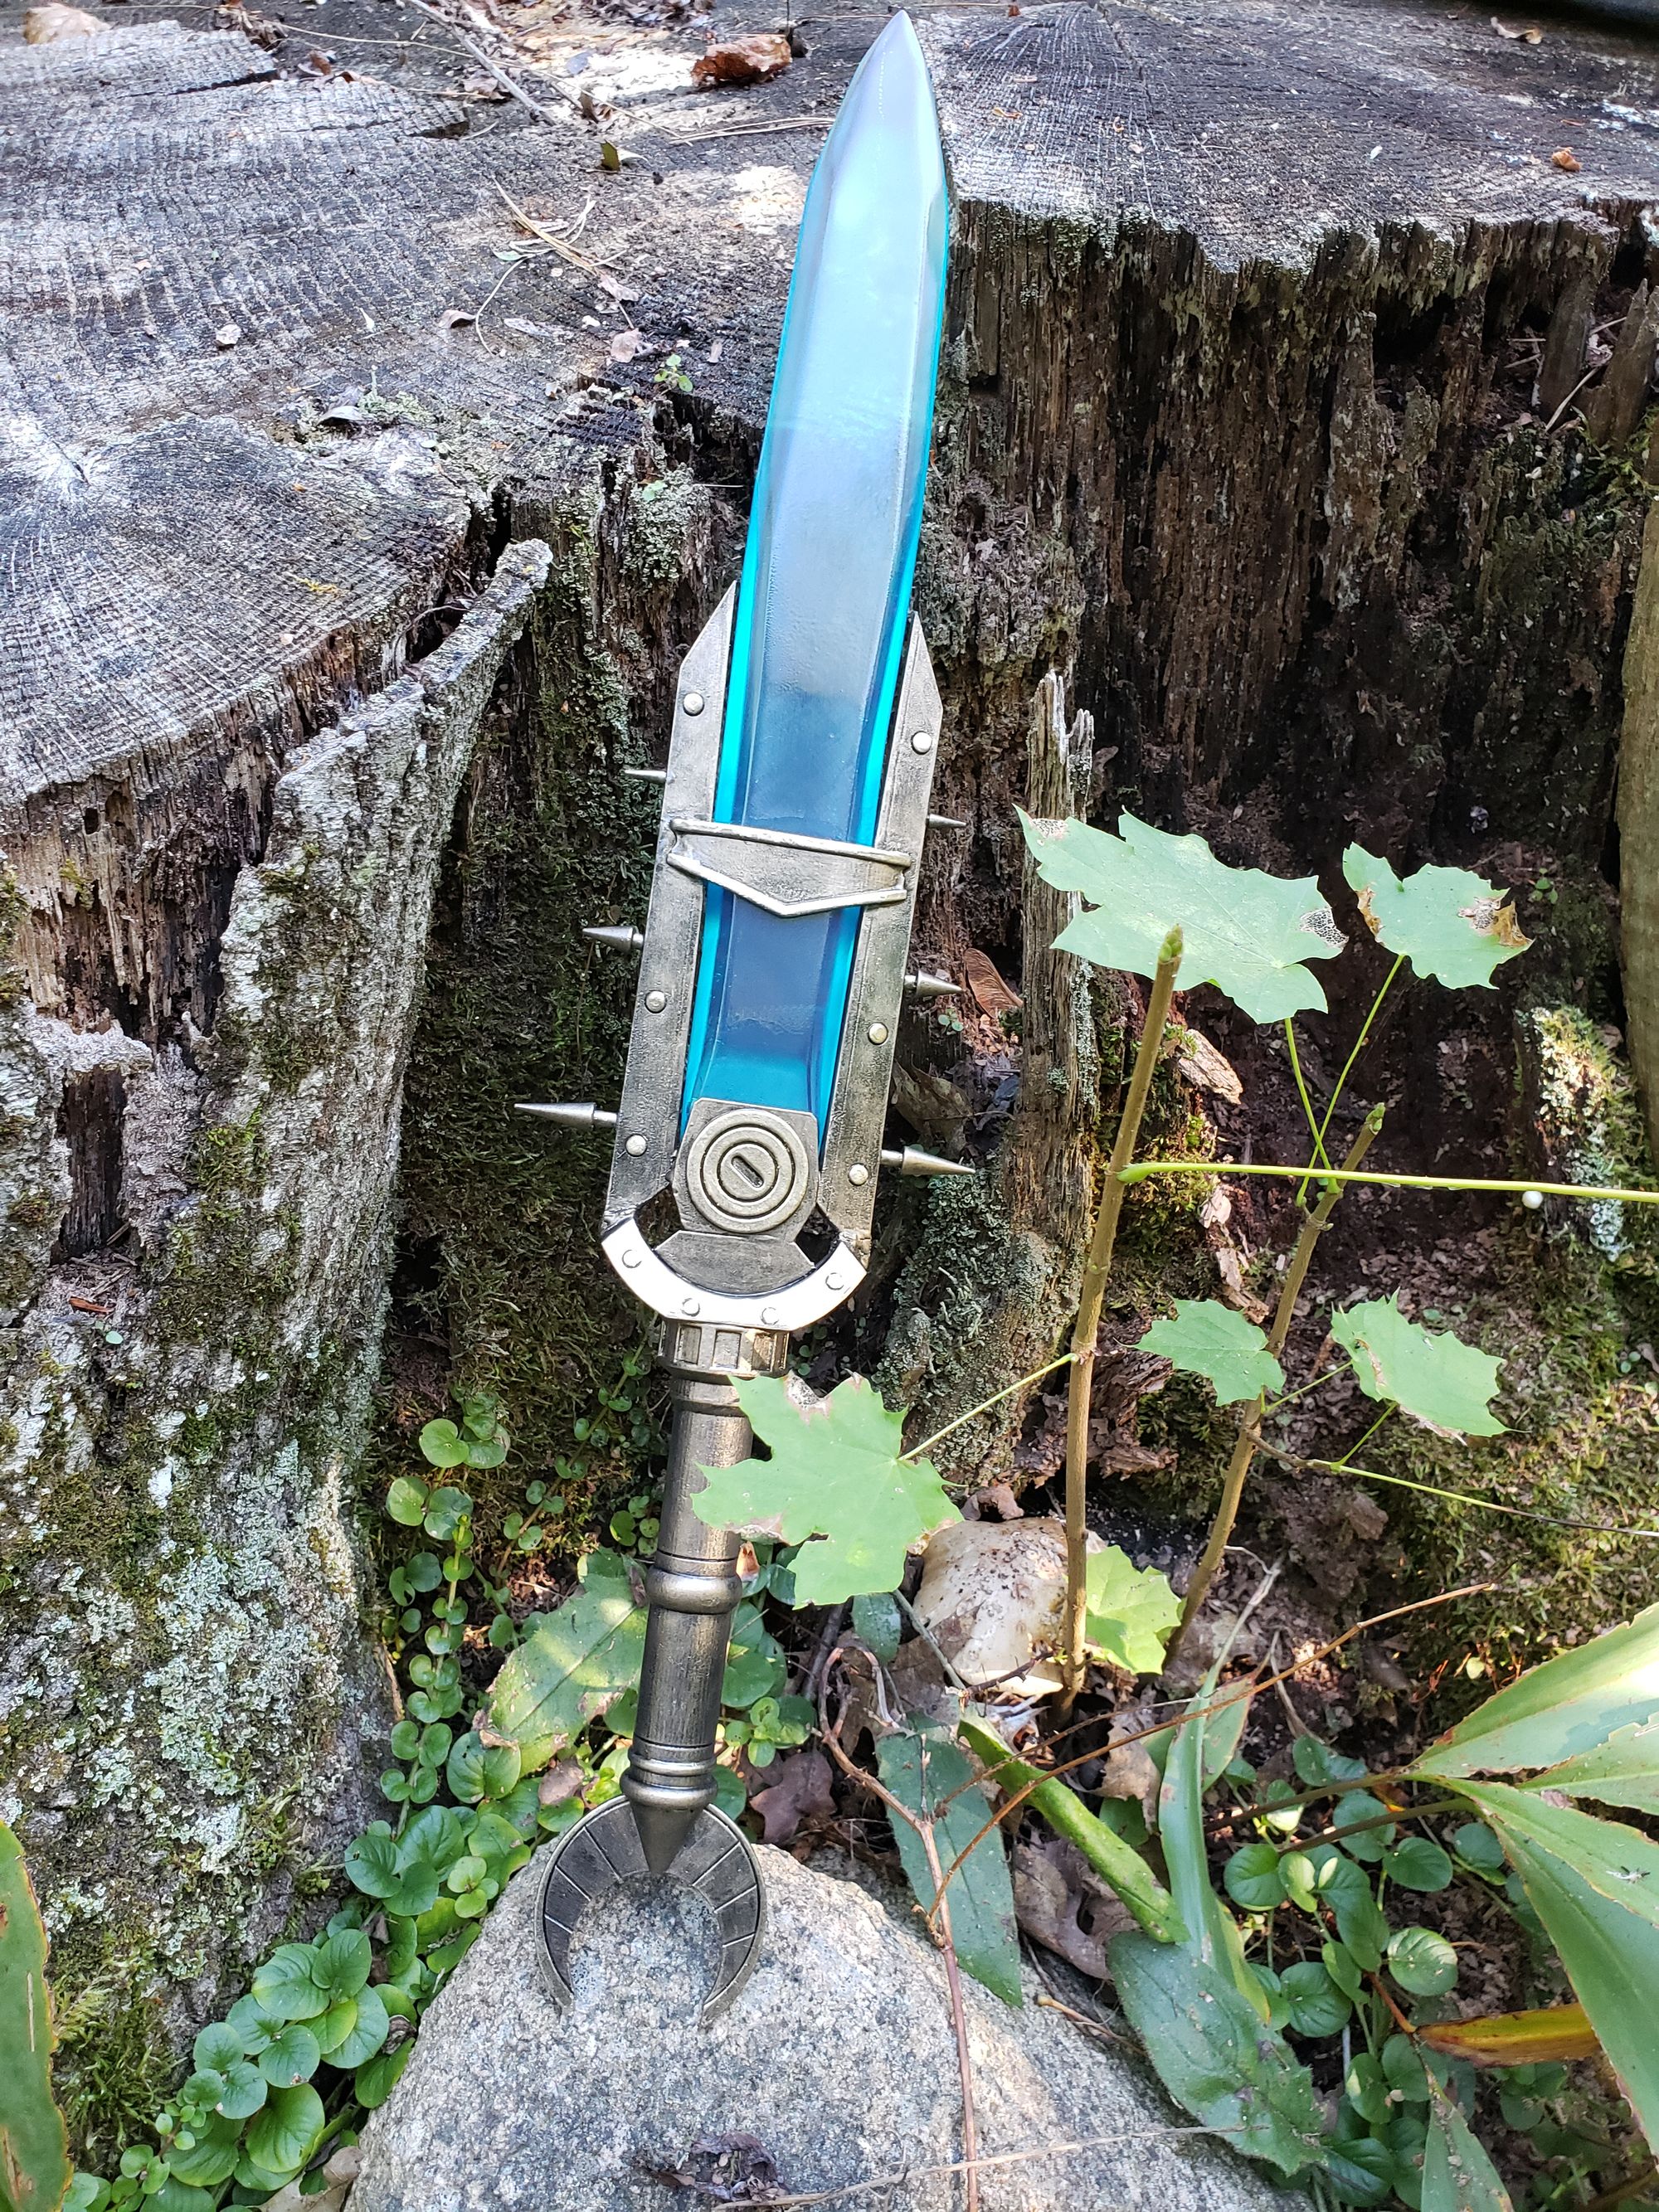
In the end, I'm quite happy with the whole thing. It has enough heft to it that it feels amazing to hold, but because it's resin I'm way too careful and slow with it, since it can be fragile. It's definitely a display piece, with the occasional outings. I want to make a custom display stand for it one day, but it just begs the question if I should make it also big enough to house the other Tools of Kagrenac, as I will make them one day...
Resources
Everything I used and file resources for you
My Files
Materials
- ABS-Like Tough 3D Printer Resin
- Generic 3D Printer Resin (Optional for unimportant parts like decals)
- Transparent Blue 3D Printer Resin
- Brushed Bronze Acrylic Paint
- Mayan Gold Paint (or any gold paint for decals)
- UV Resistant Glossy Clearcoat Spray Paint
- Glossy Black Paint & Primer Spray Paint (Semi-Optional)
- Matte Black Paint & Primer Spray Paint (Optional)
- Generic Paint & Primer Spray Paint (Semi-Optional)
Tools & Equipment
- Resin 3D Printer (AnyCubic Photon Mono X)
- Resin Print Washing Setup (Isopropyl Alcohol)
- Resin Curing Station (UV Lights, or the Sun should suffice)
- Paint Brushes (some really raggedy old ones preferred)
- Various Sandpaper Grits (Rough to Ultrafine, e.g. 600, 1000, 1200, 1400, 1600, 2000, 4000, 8000 etc.)